Multics: A forgotten gem
Multics was a mainframe operating system from the 80s that was way ahead of its time. This is a quick guide on how to install it on a Raspberry Pi 4.

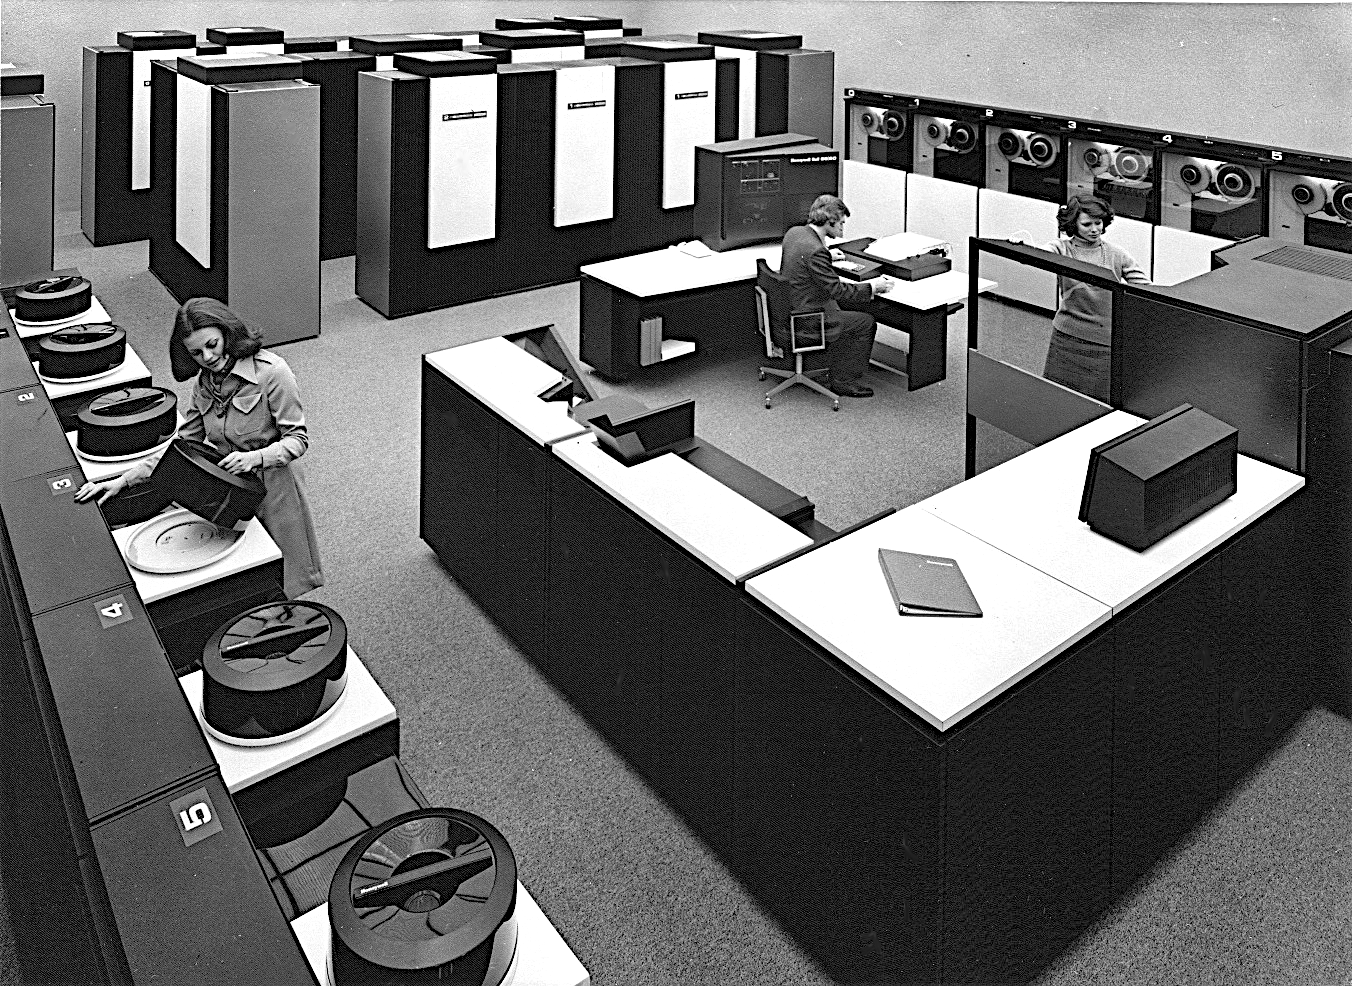
When I was at university back in the mid-80s I used a mainframe system called Multics. In a lot of ways it was incredibly advance for its time. Not so much in how it worked, though it did have some cool concepts, but in the user experience. It had email, instant messaging, and forums. I know this doesn't seem like much nowadays, but in the mid-80s it was mind-blowing 🤯.
Being a mainframe, it was access by "dumb" terminals. I used dumb in quotes because a lot of the terminals in those days just weren't that dumb. They often had their own local processors such as MOS 6502's which effectively made them mini-computers. And this, combined with Multics' abilities, led to terminals being able to handle windowed displays. Within the constraints of a 80x24 character terminal you could send content to specific areas of the screen. An excellent example of this would be a fixed status line at the top of your terminal that displayed pertinent info like number of unread email messages, current working directory, number of users logged in etc. What made this magical was that it was unaffected by other things that happened on the rest of the screen. Other areas might scroll but the status line was fixed.
It also had windowed systems for email and forums. Again mind-blowing for the time.
All of this gave me a great nostalgia for Multics, so I was delighted to find that a team had resurrected Multics in the form of a simulator that can run on a number of systems, including the Raspberry Pi. Needless to say I had to install it. This proved to the new remarkably easy. Eric Swenson maintains an excellent site at multics-wiki.swenson.org that has all the steps you need to follow. I've summarised these below.
Note: this is not intended to be exhaustive guide, this is more here as an aide-mémoire for me, in case I have to do a re-install.
Installing Multics
Step 1
Download the latest version of Raspberry Pi OS. I did this using the Raspberry Pi Imager. This will automatically install it on the micro SD card attached to your computer. I downloaded Raspberry Pi OS (64-bit) for a 4GB Raspberry Pi 4.
Step 2
Install the micro SD card into the Raspberry Pi and boot. Complete all the steps for the initial boots and make sure the Raspberry Pi is connecting to the internet either via wireless or by a wired connection. Which doesn't matter, you just need to be able to talk to the internet.
Step 3
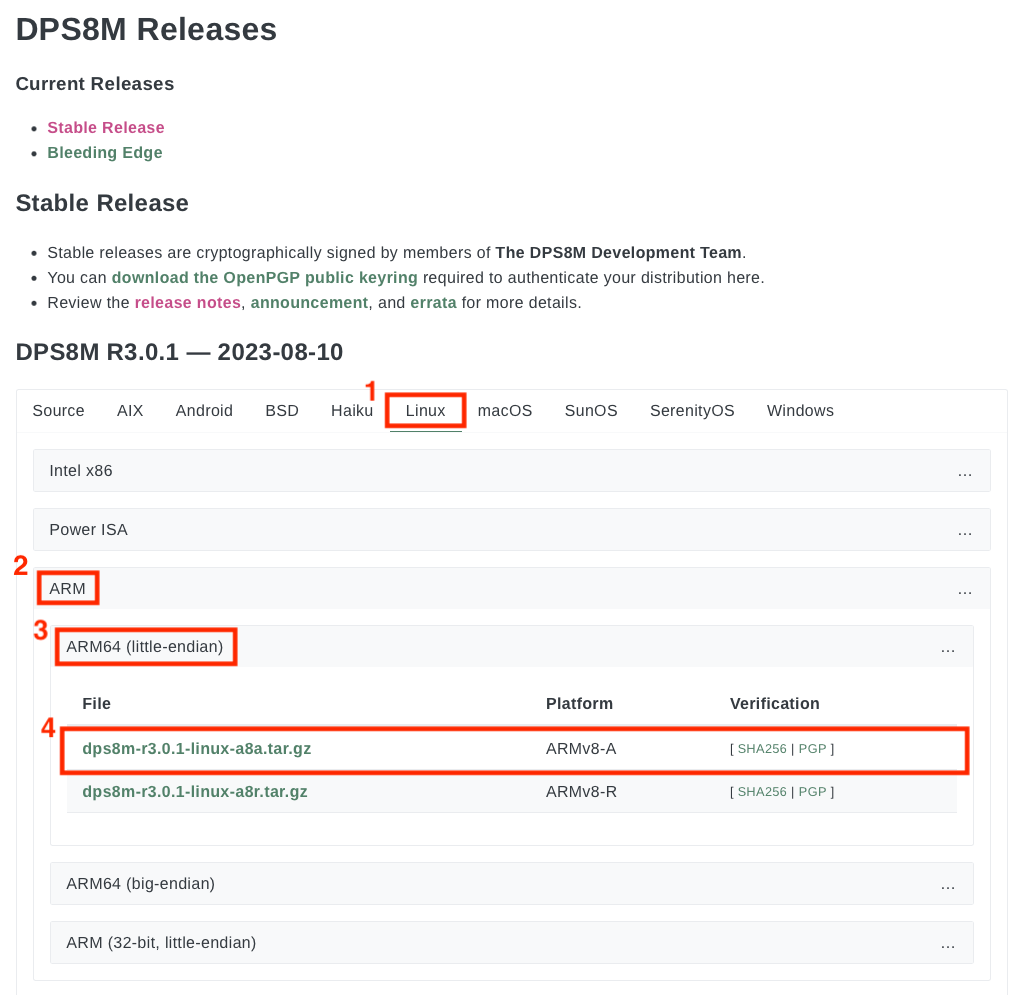
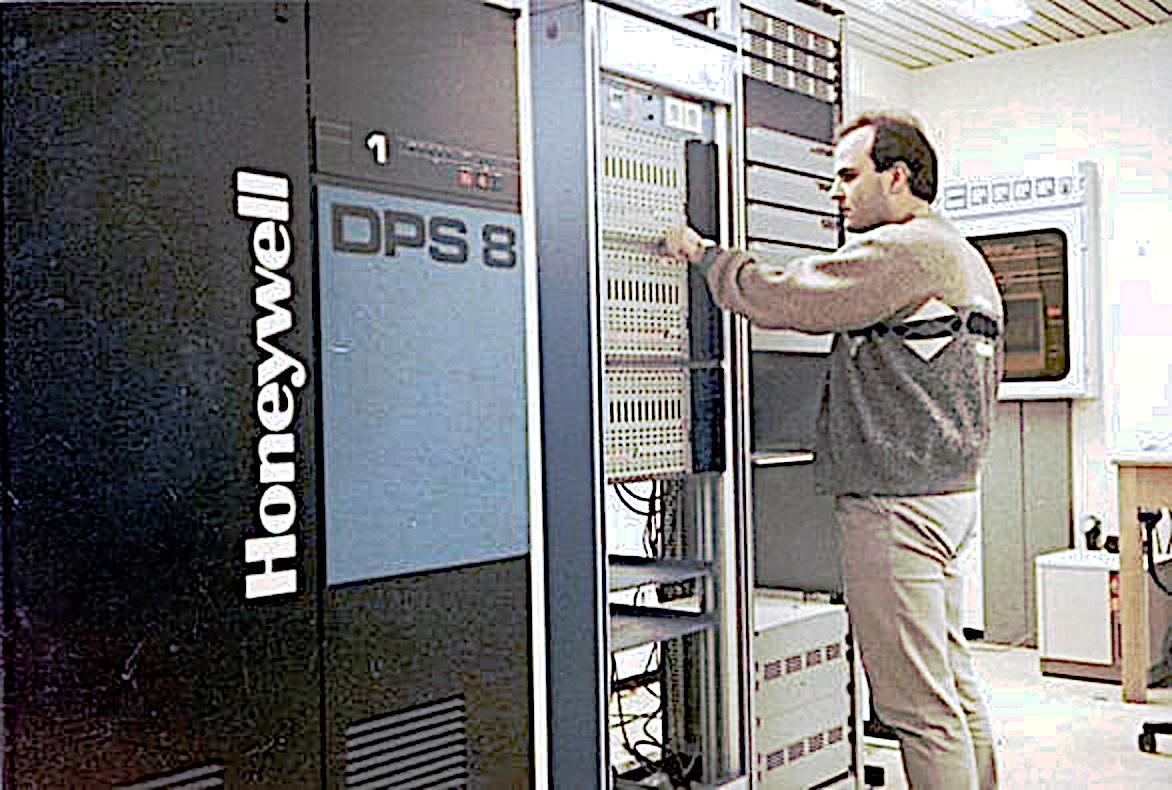
Install the DPS-8/M simulator. Hang on, weren't you talking about Multics? Yes, but technically Multics is the operating system and it ran of a piece of hardware made by Honeywell called the DPS-8/M. So the first thing you need to do is install the DPS-8/M simulator Then you can install Multics on that.
You can download the simulator from the DPS8M simulator on Github. For a Raspberry Pi, pick the Linux version --> ARM --> ARM64 (little-endian) --> ARMv8-A.
Step 4
Create a folder in your home directory called Multics, and unzip the contents of the downloaded file into there. This will create a folder called dps8m-r3.0.1. From that folder copy the file called dps8 into the Multics folder. Test the DPS8 simulator by typing -
./dps8
This should cause the simulator to start and give a prompt of
sim>
If you see that ,the DPS8 simulator is working. Exit the simulator by typing
quit
Detailled instructions for this section are here
Step 5
Download Multics from Multics MR12.8 QuickStart. Unzip into the Multics directory you created above. And then run the command -
./dps8 MR12.8_boot.ini
from the Multics directory to start Multics.
Step 6
Install telnet. Surprisingly telnet isn't installed by default on Raspberry Pi's. Use the command below to install it.
suda apt-get install telnet
Step 7
Fire up telnet and connect to the Multics system using the command below -
telnet localhost 6180
You'll get a list of HSLA Ports. Now hit return to select the default one. Hopefully you'll get something like this -
Multics MR12.8: Installation and location (Channel d.h000)
Load = 5.0 out of 90.0 units: users = 5, 04/08/24  0749.8 pst Mon
if you do, congratulations, you've successfully installed Multics and it's running :-)
Step 8
Now have a look at the Using Multics section on the Multics Wiki and have fun 😀
One final thing you do need to make sure you do, is shut Multics down properly once you've finished using it. Not doing this could break the installation. Remember this is a mainframe you're running and it expects to be treated properly. See below for instructions on how to shut it down.
Using Multics
Once you've got Multics installed, there are two things you'll need to be able to do. Start it and Stop it. And I said above, do make sure you shut it down properly. It's not like a modern system, it expects to be shut down properly.
Starting Multics
This assumes you've successfully installed Multics, and you're using a Raspberry Pi.
- Change to the directory that contains Multics
- Type
./dps8 MR12.8_boot.iniin a Terminal window, this will start the operator console - Once the operator console is fully running, start a new Terminal wondow and type
telnet localhost 1680 - Once the HSLA ports are displayed, hit
Returnto select the default - Login in with your user account e.g.
login Repair
Shutting Down Multics
I know I keep going on about this, but please do shut Multics down properly when you've finished using it. It's a mainframe, it's important.
- Go to the operator console and if you don't see the
M->prompted hit theEsckey to bring it up. - Type
logout * * *to shutdown all the daemons - Hit the
Esckey to release the console - Wait a few seconds for the daemons to be logged out
- Hit the
Esckey again and at theM->prompt typeshut - Wait until you see the shutdown complete message, then hit
Escagain and typedieand confirm withy - This will complete the shutdown and drop you back to the
sim>prompt - Type
quitand this will stop the sim and you will be back to your normal prompt. Multics is now completely shoutdown and it's safe to do whatever else you want to do.
I do not fear computers. I fear the lack of them. - Isaac Asimov