Saturday Gardening, Fettling, & Mushroom Bed (Part2)

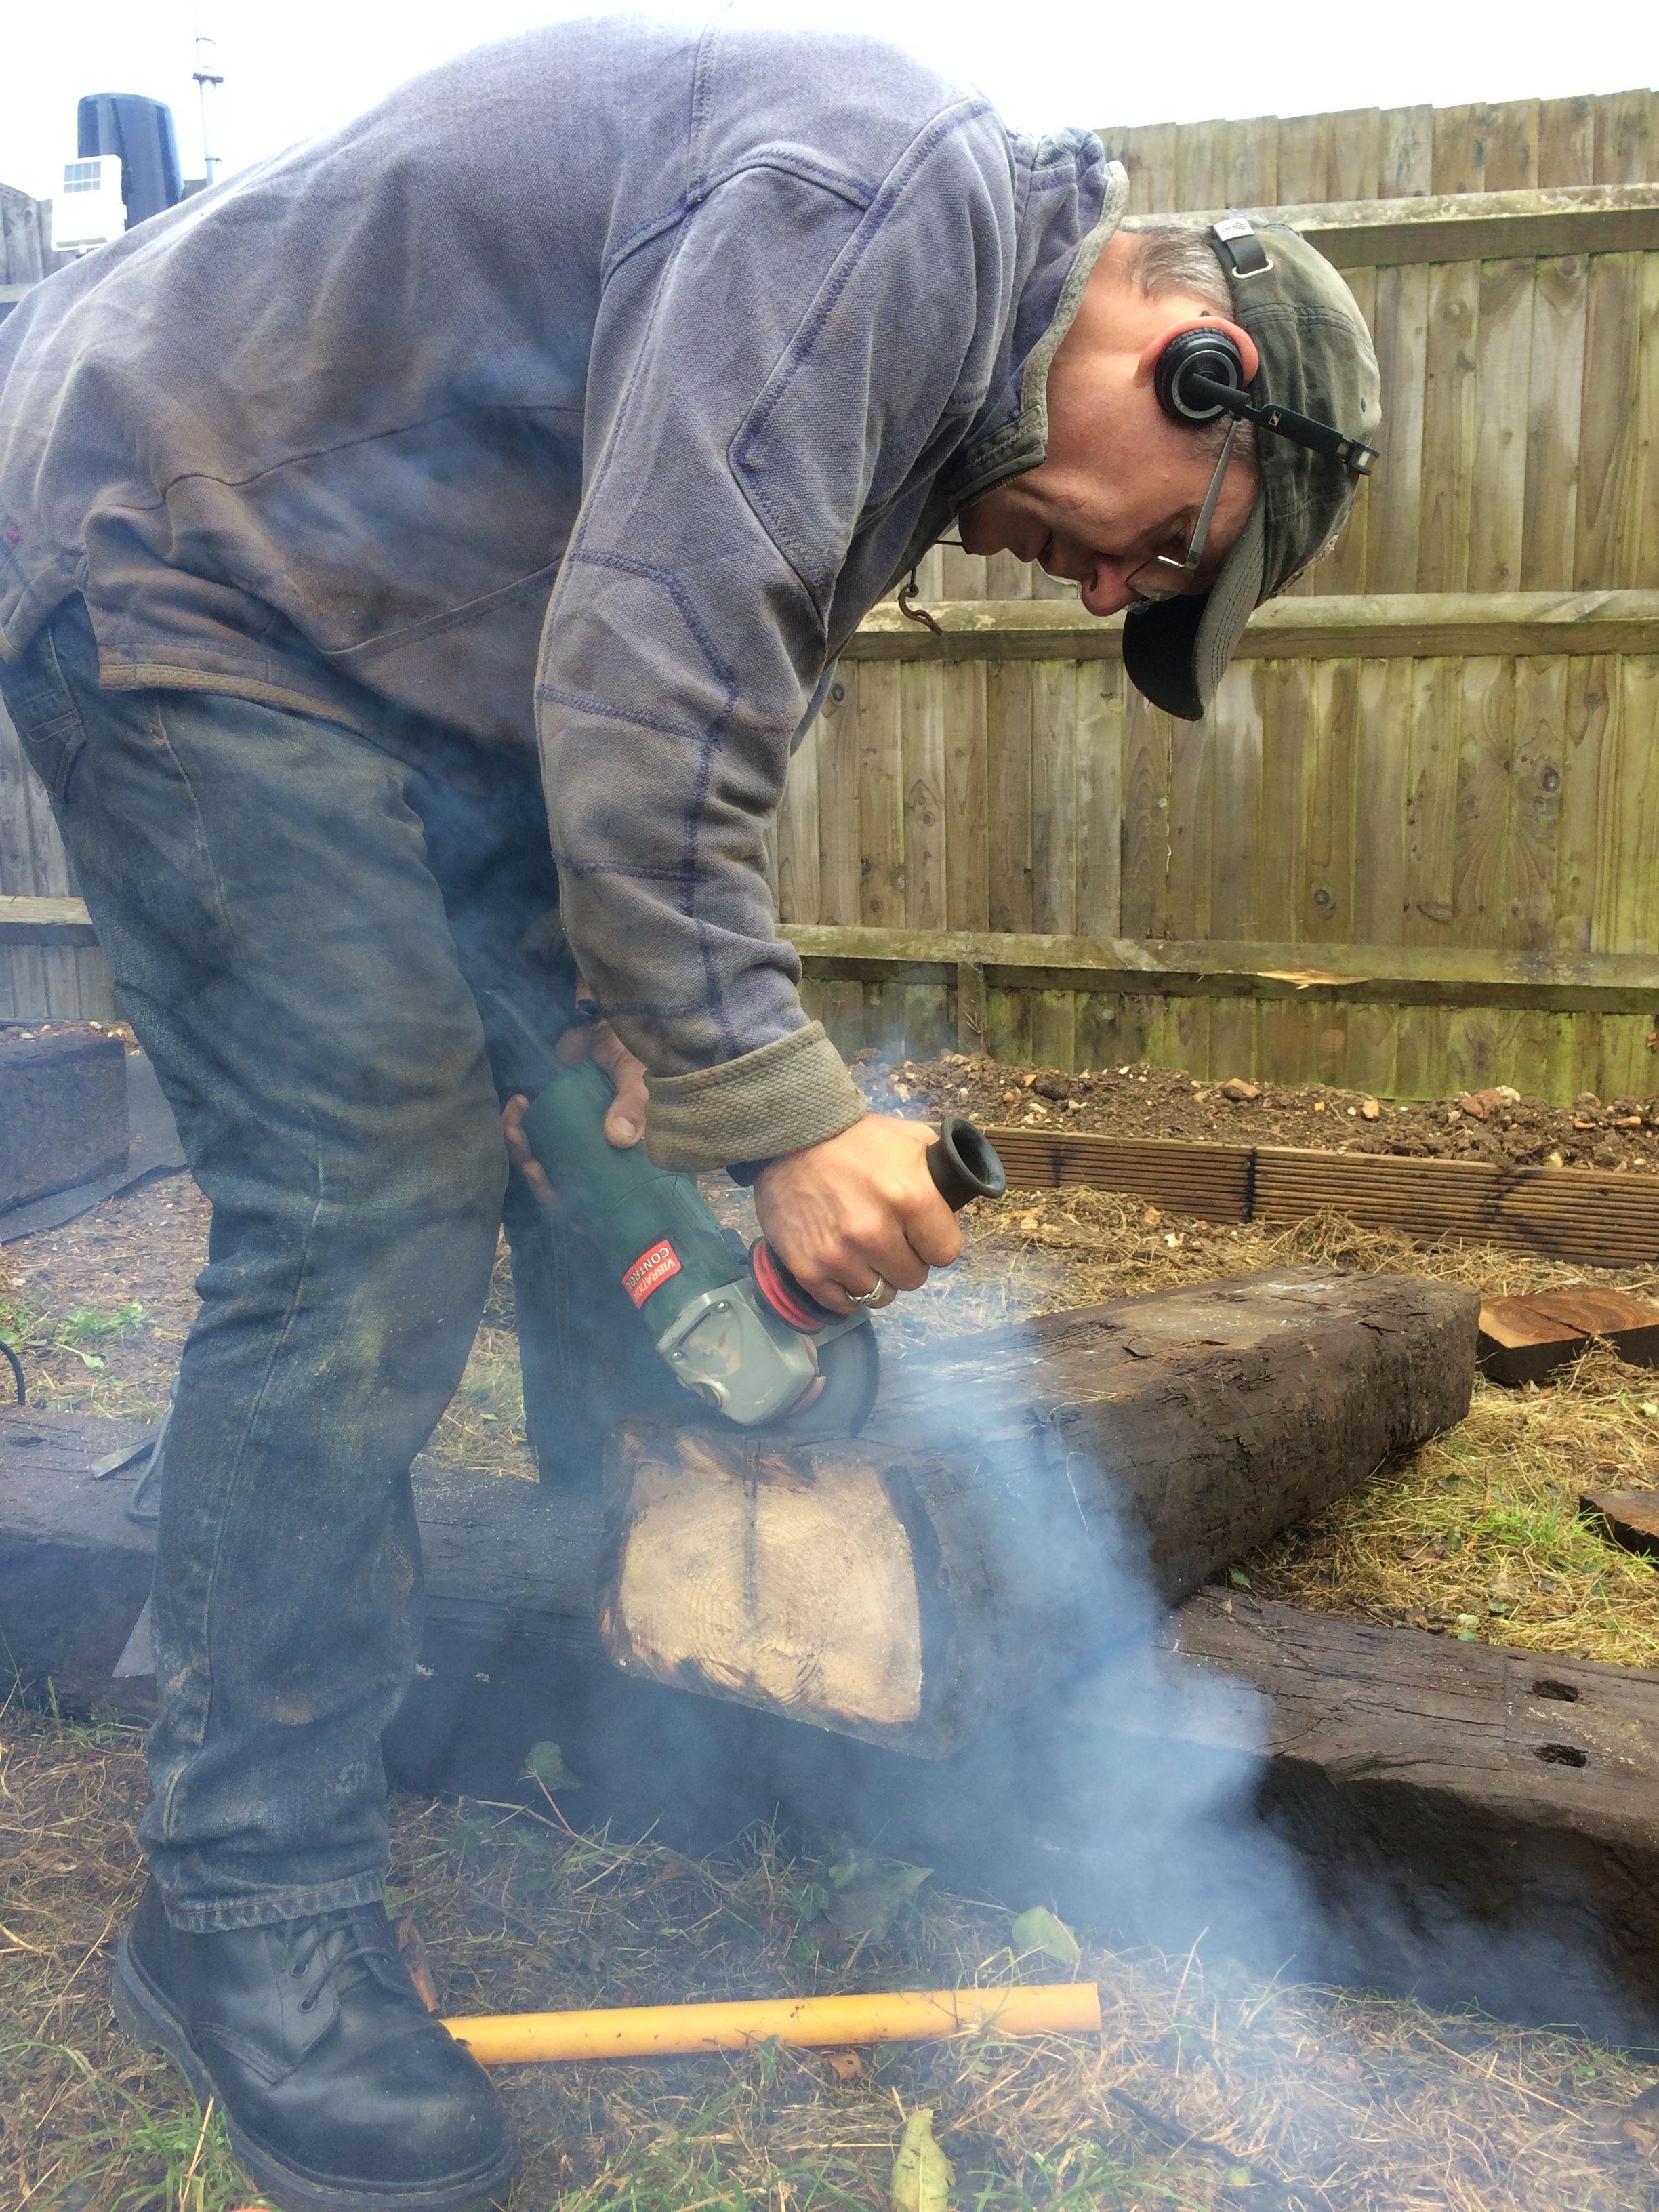
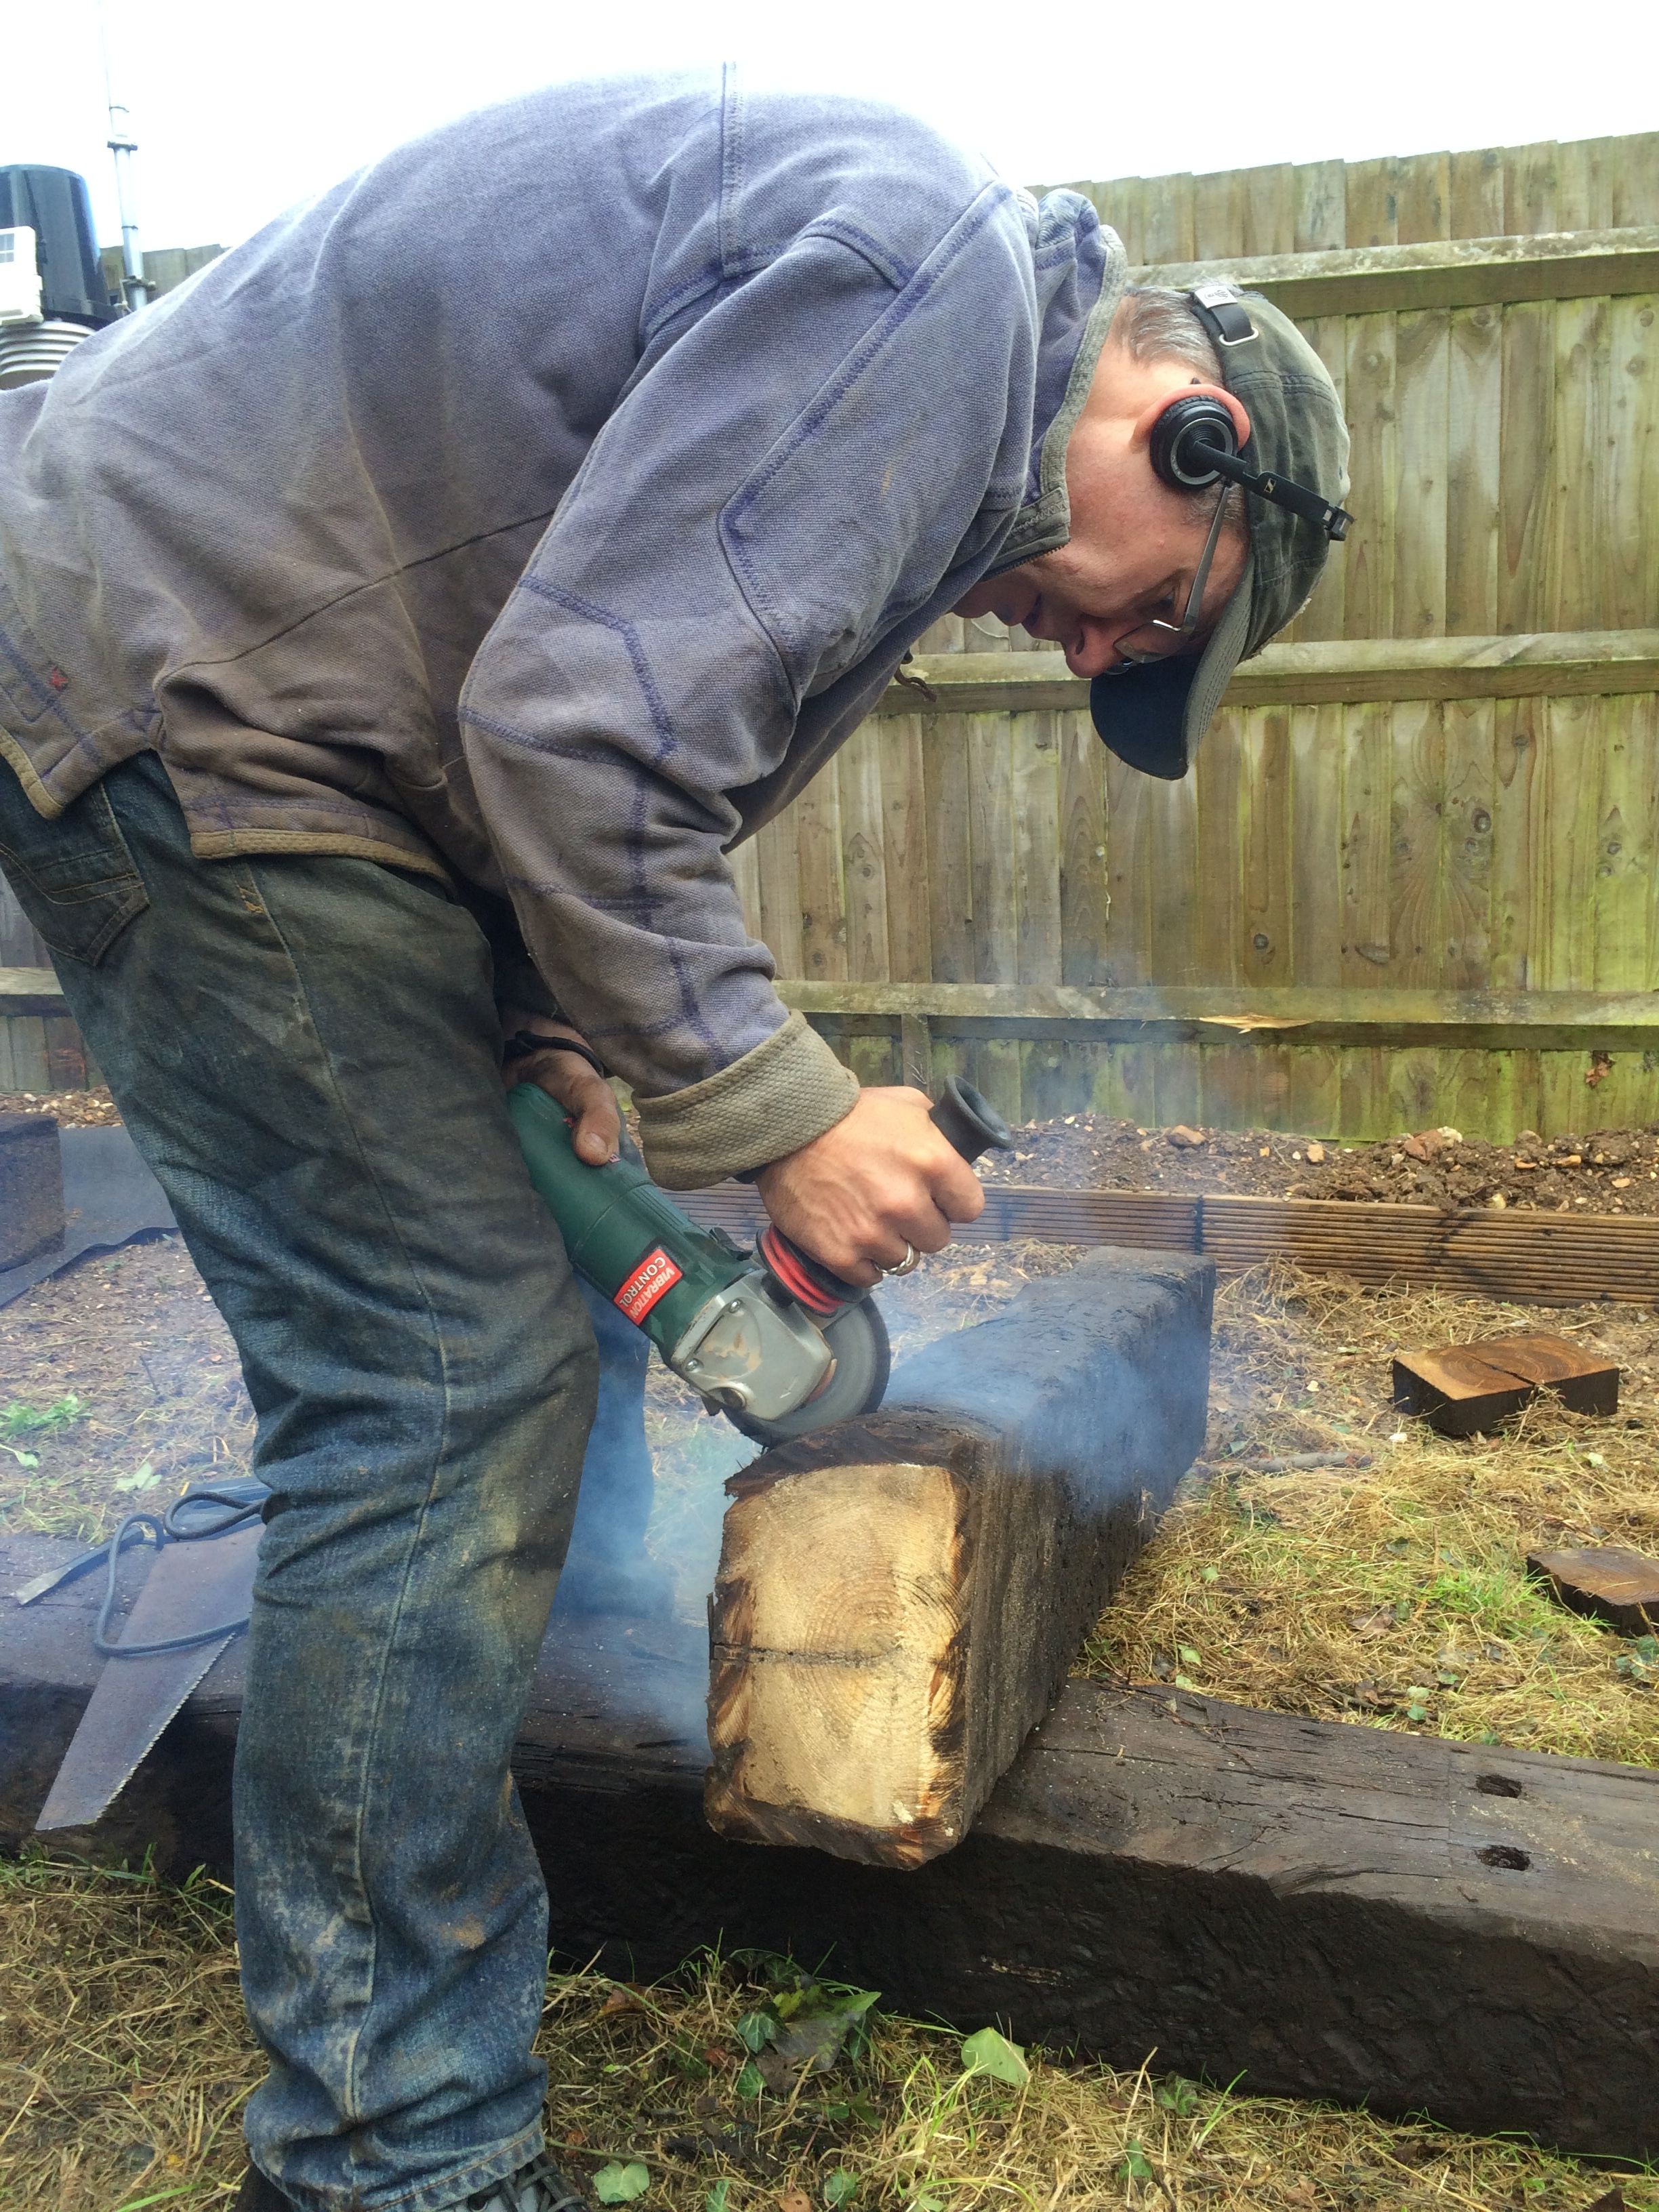
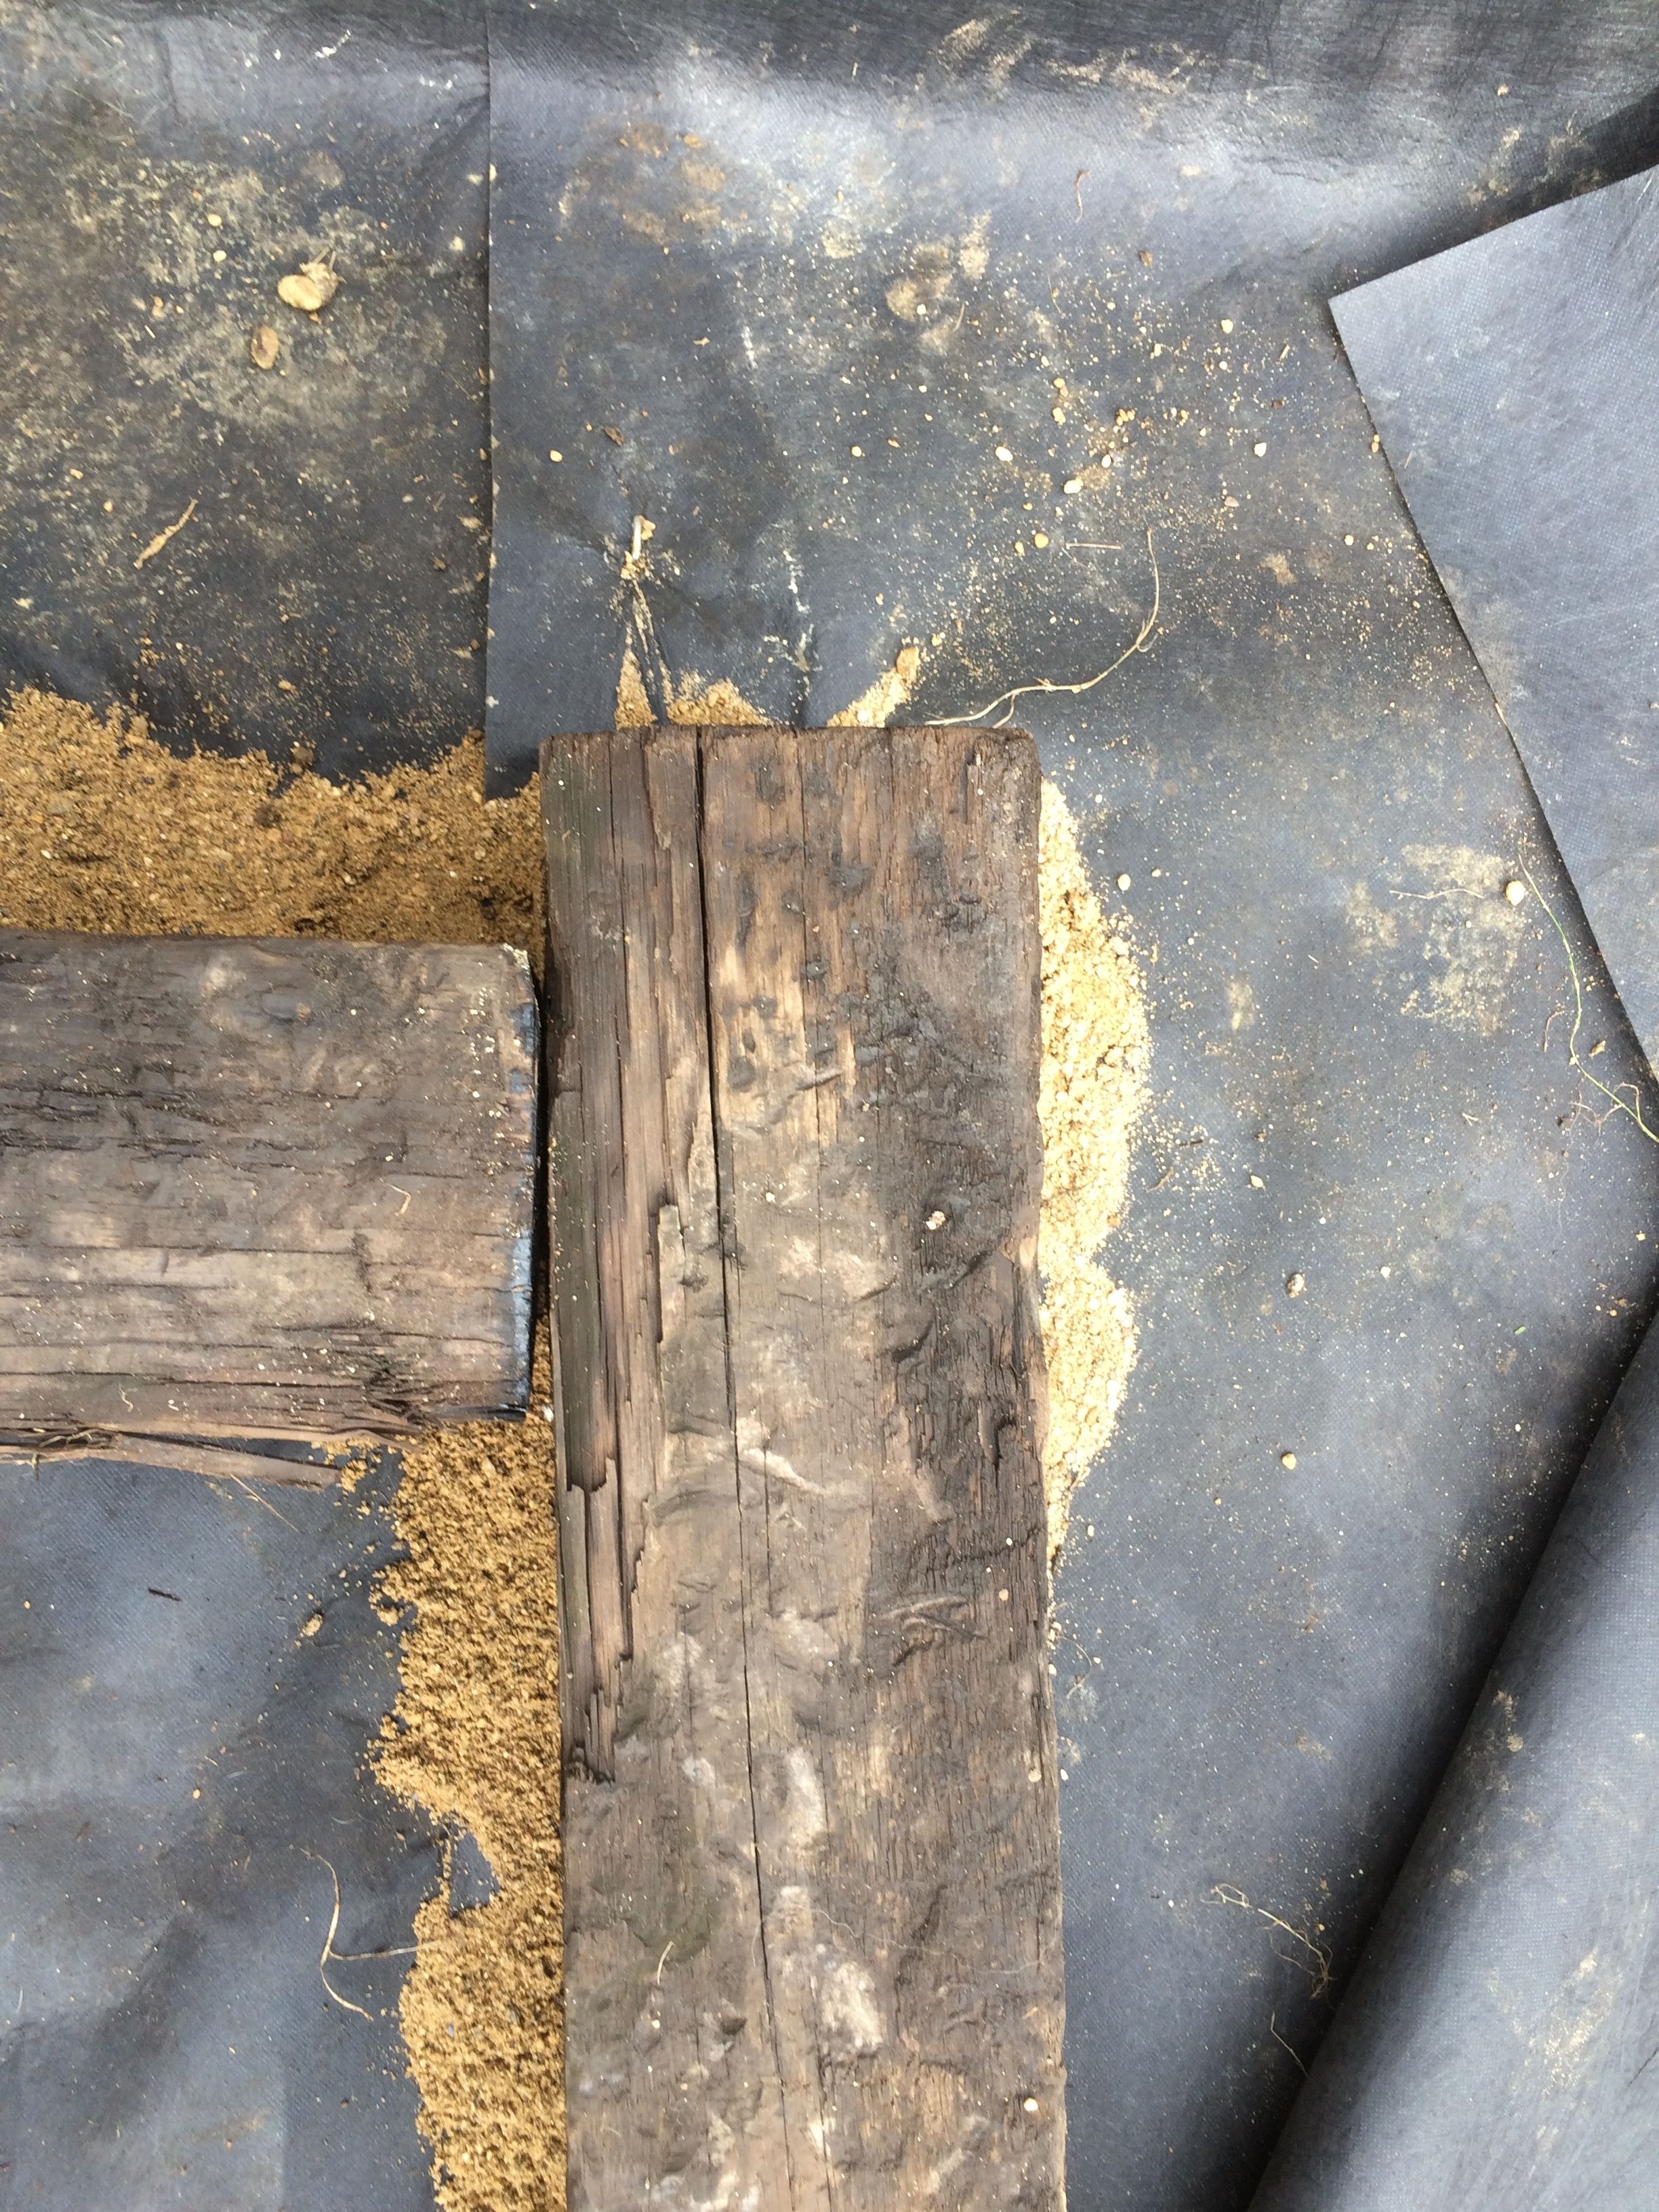
We pressed on with the garden today. First item on the menu was to cut the remaining sleeper for the base of the second raised bed. It was the sleeper for short sides so it need to be cut twice to produce two 50" beams. Again, it was done with a combination of angle grinder and hand saw.
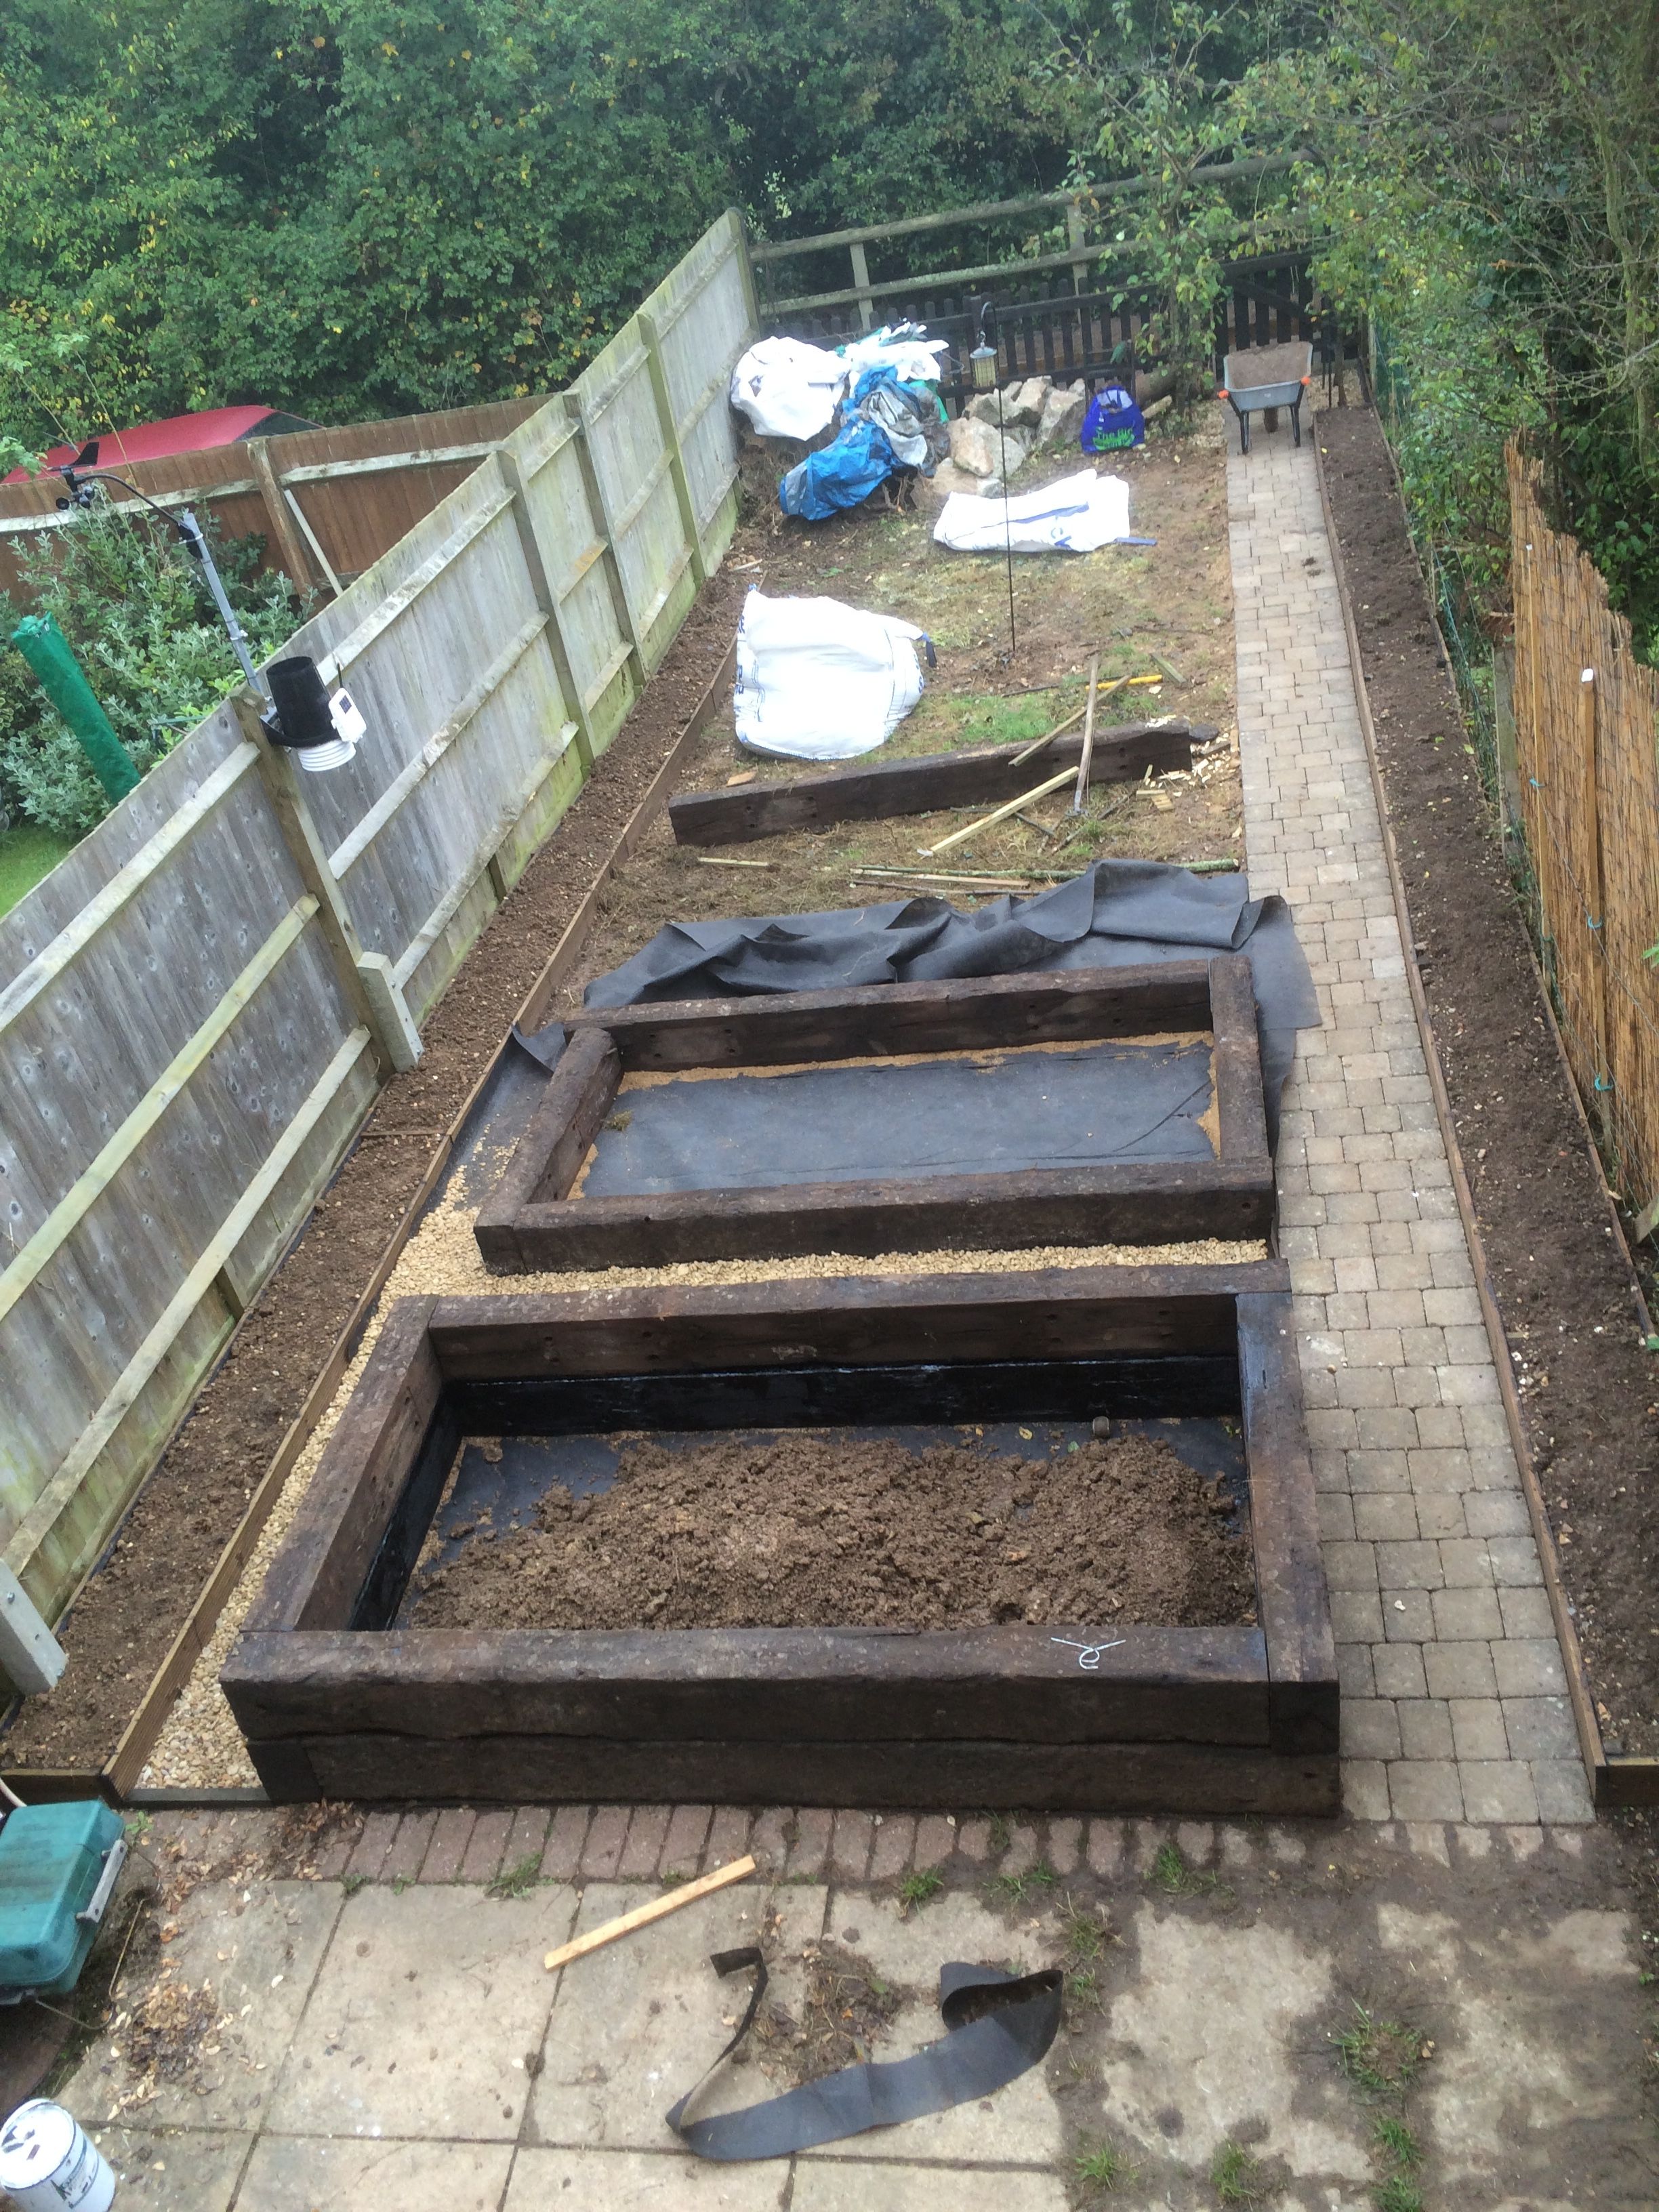
Once finished we levelled the sleepers with sand underneath them, and drilled & pinned the two nearest the first bed. We didn't pin the far end because we'd run out of coached screws. That turned out to be one of those blessing in disguise things :-) - see fettling below. But it did mean we could fill the gap between the beds with gravel and see what the final effect would look like. We're very pleased with it :-)
Fettling
Looking at the further end of the raised bed, we realised the garden width varies as you go done it's length. The space between the raised bed and the south-facing long bed was shrinking.
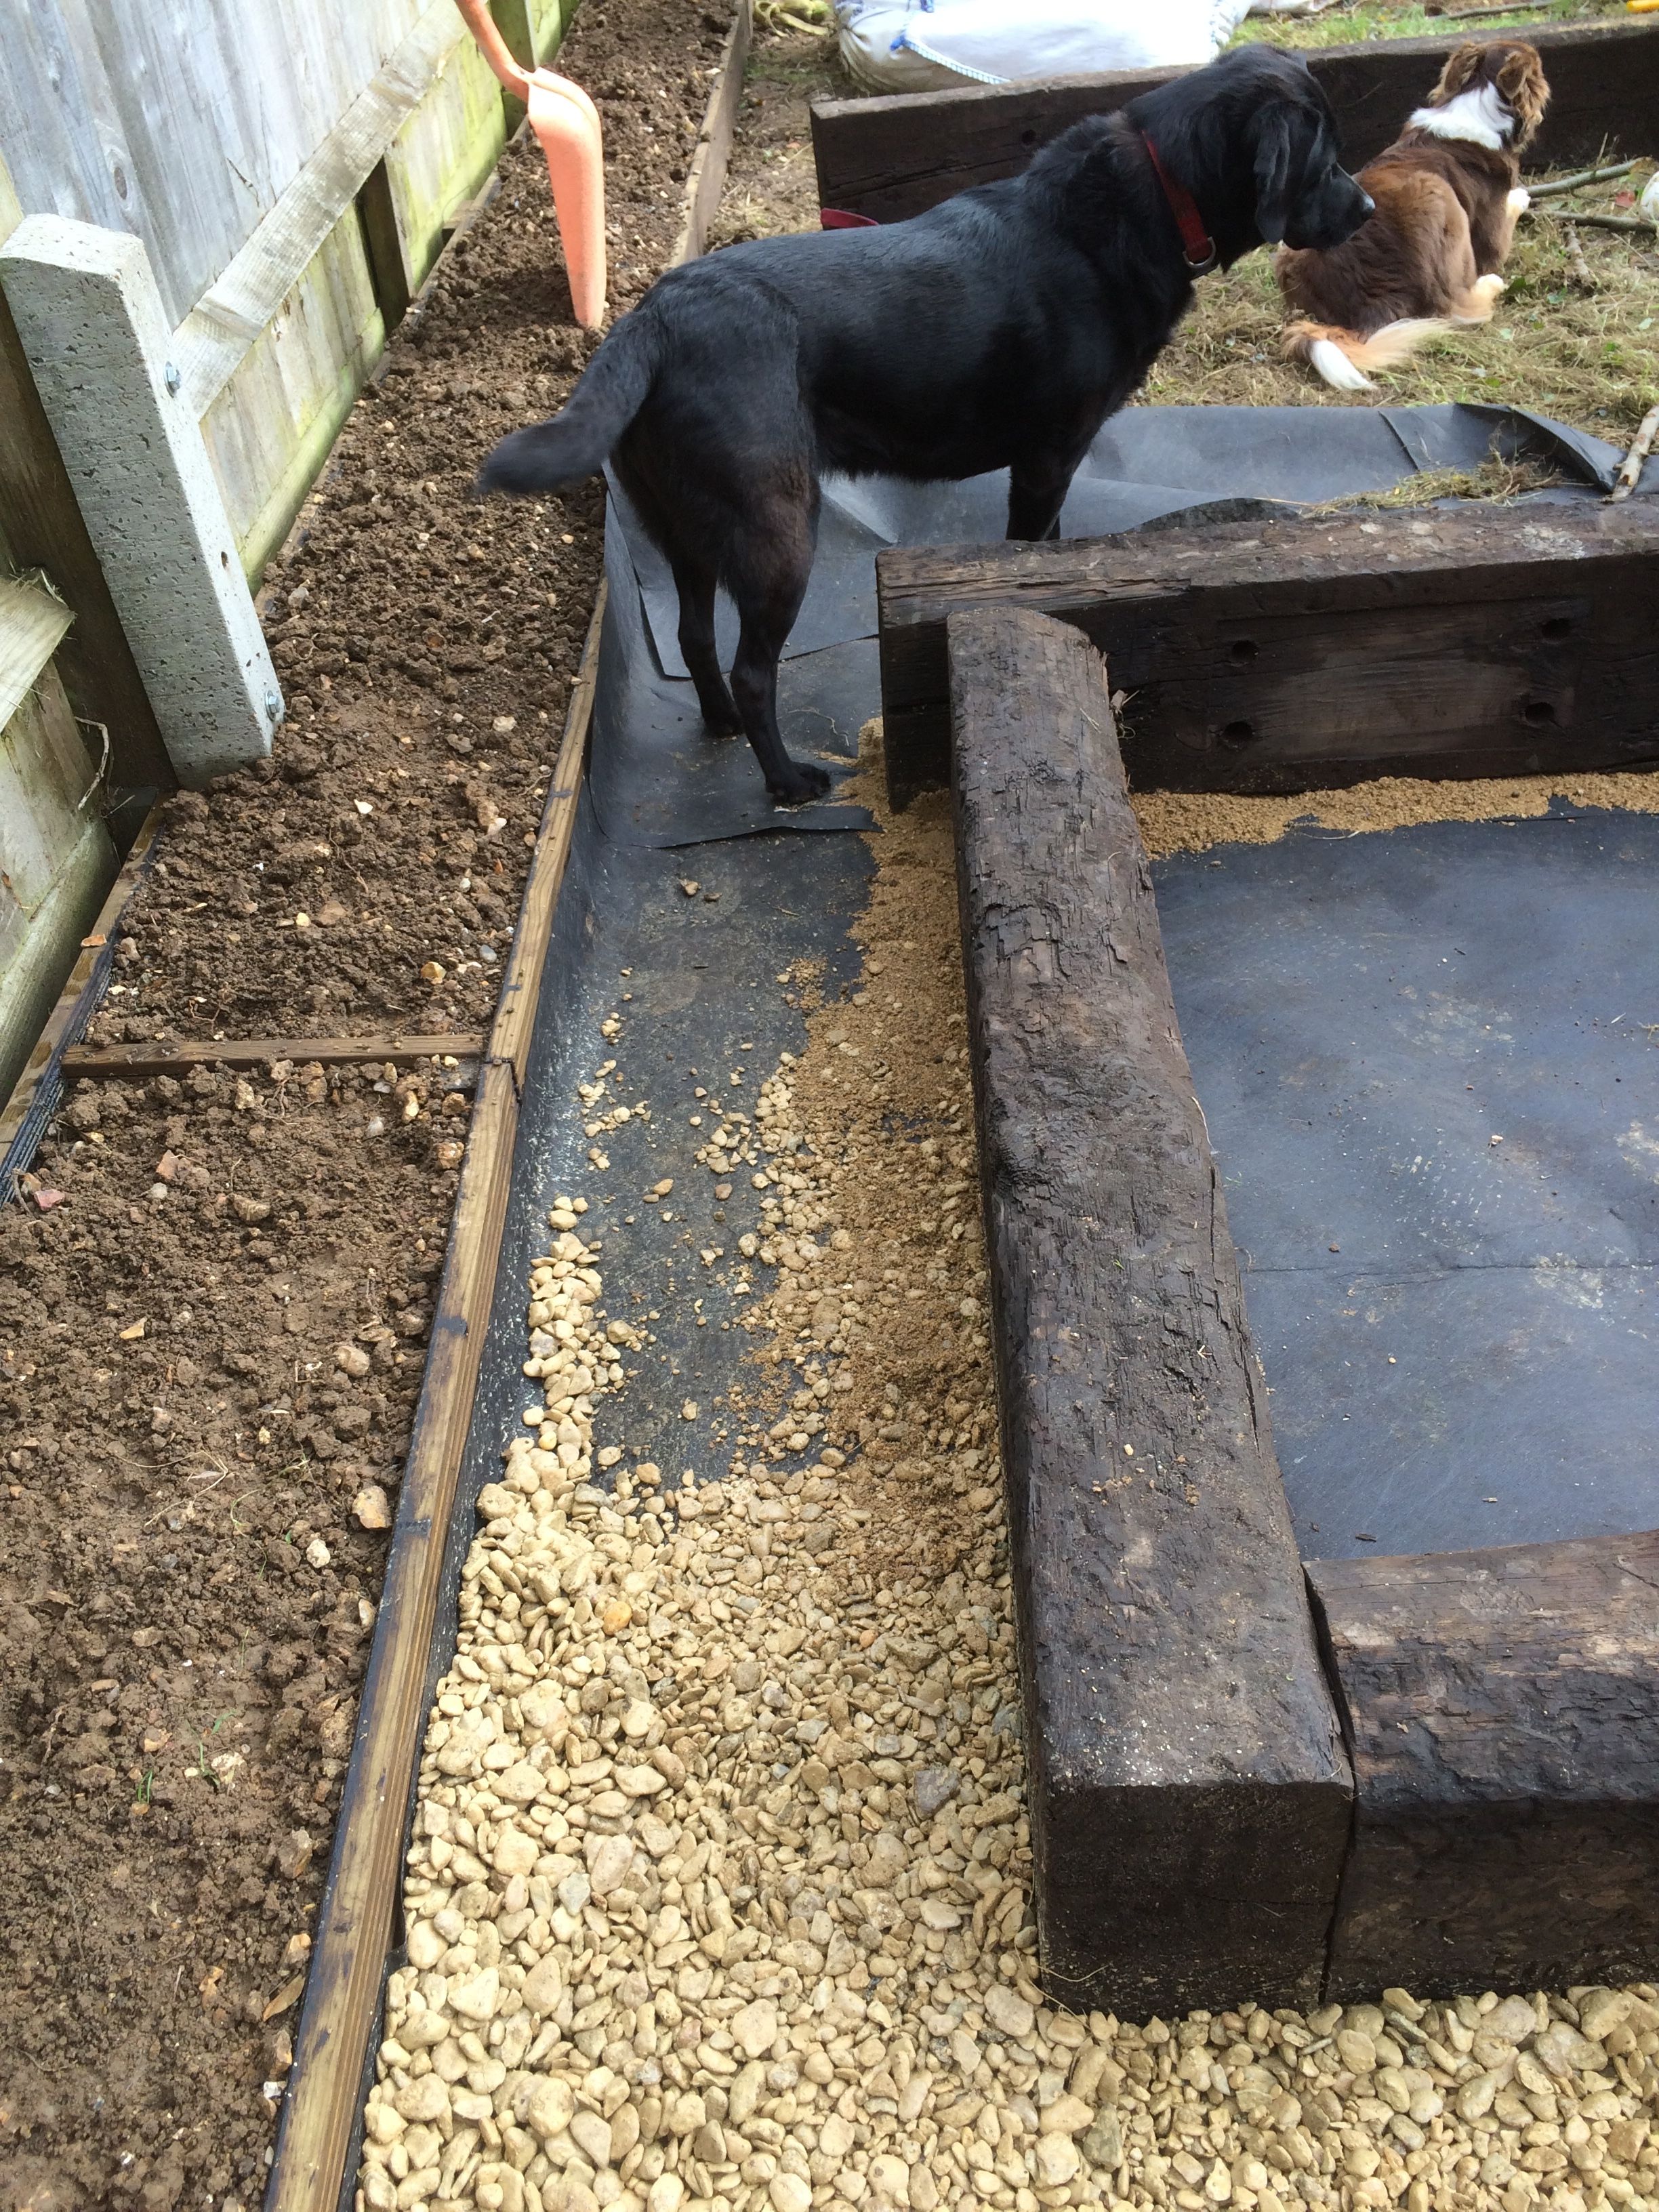
It was only a matter of a couple of inches, and normally I don't think you'd notice it - certainly we hadn't until now, but these are rather critical inches. This happens when your trying to get the most out of the garden and are using every square foot for a purpose, you start to notice the inches. Note, I didn't say what purposes, btw. It doesn't have to be "productive" in the classic sense. An area where you can just sit with friends and enjoy the garden is just as productive as a raised bed. At least I hope so because otherwise our patio is 135 sq ft of wasted space :-)
Missing inches
Anyway the missing inches ... when sitting on the edge of the raised bed, we want to be able to work on the long bed with our feet straight - it's more comfortable that way. We umm'ed and argh'ed a bit, and cogitated and discussed, and decided to adjust the width of the raised beds to ensure that we can always sit comfortably. It's more work as we'll have to re-cut one long side sleeper on the second bed, and means the raised beds won't be exactly square ... or exactly the same size for that matter, but who cares.
If your going to do something, it should be done properly. And properly is not always the same as symmetrically :-)
The Mushroom Bed
We still had a pile of earth from digging out the foundations of the path in the middle of the garden. Deciding that we needed that space for the gravel and the rest of the sand, we thought we'd complete the build of the mushroom bed and fill it . That would use most of the earth. The rest could go in the bottom of the first raised bed.
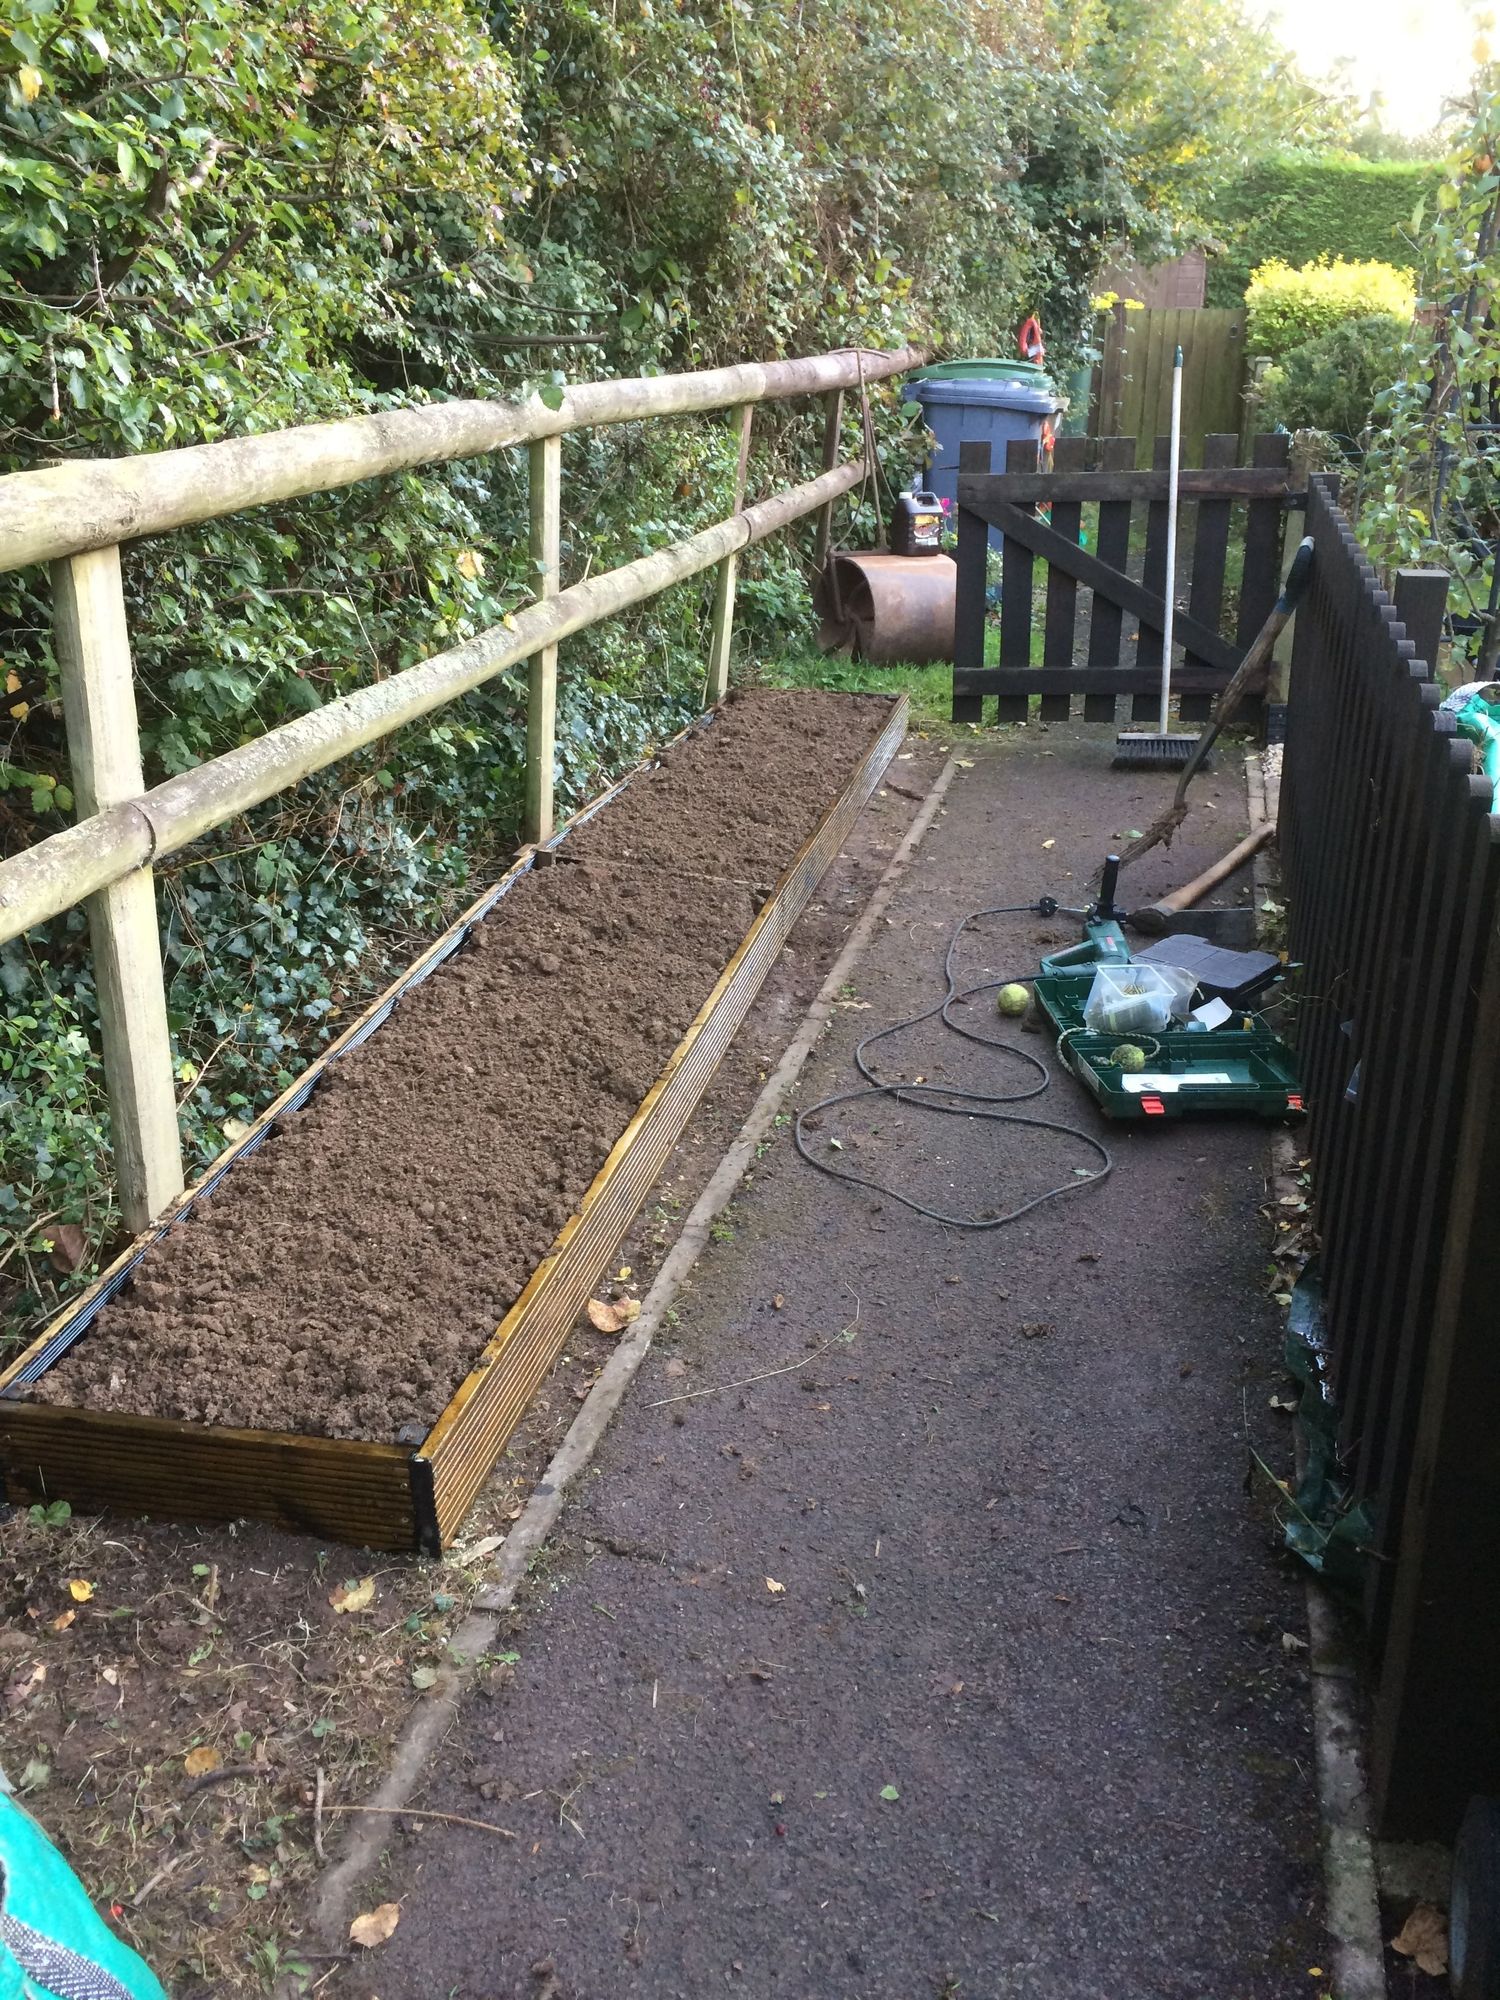
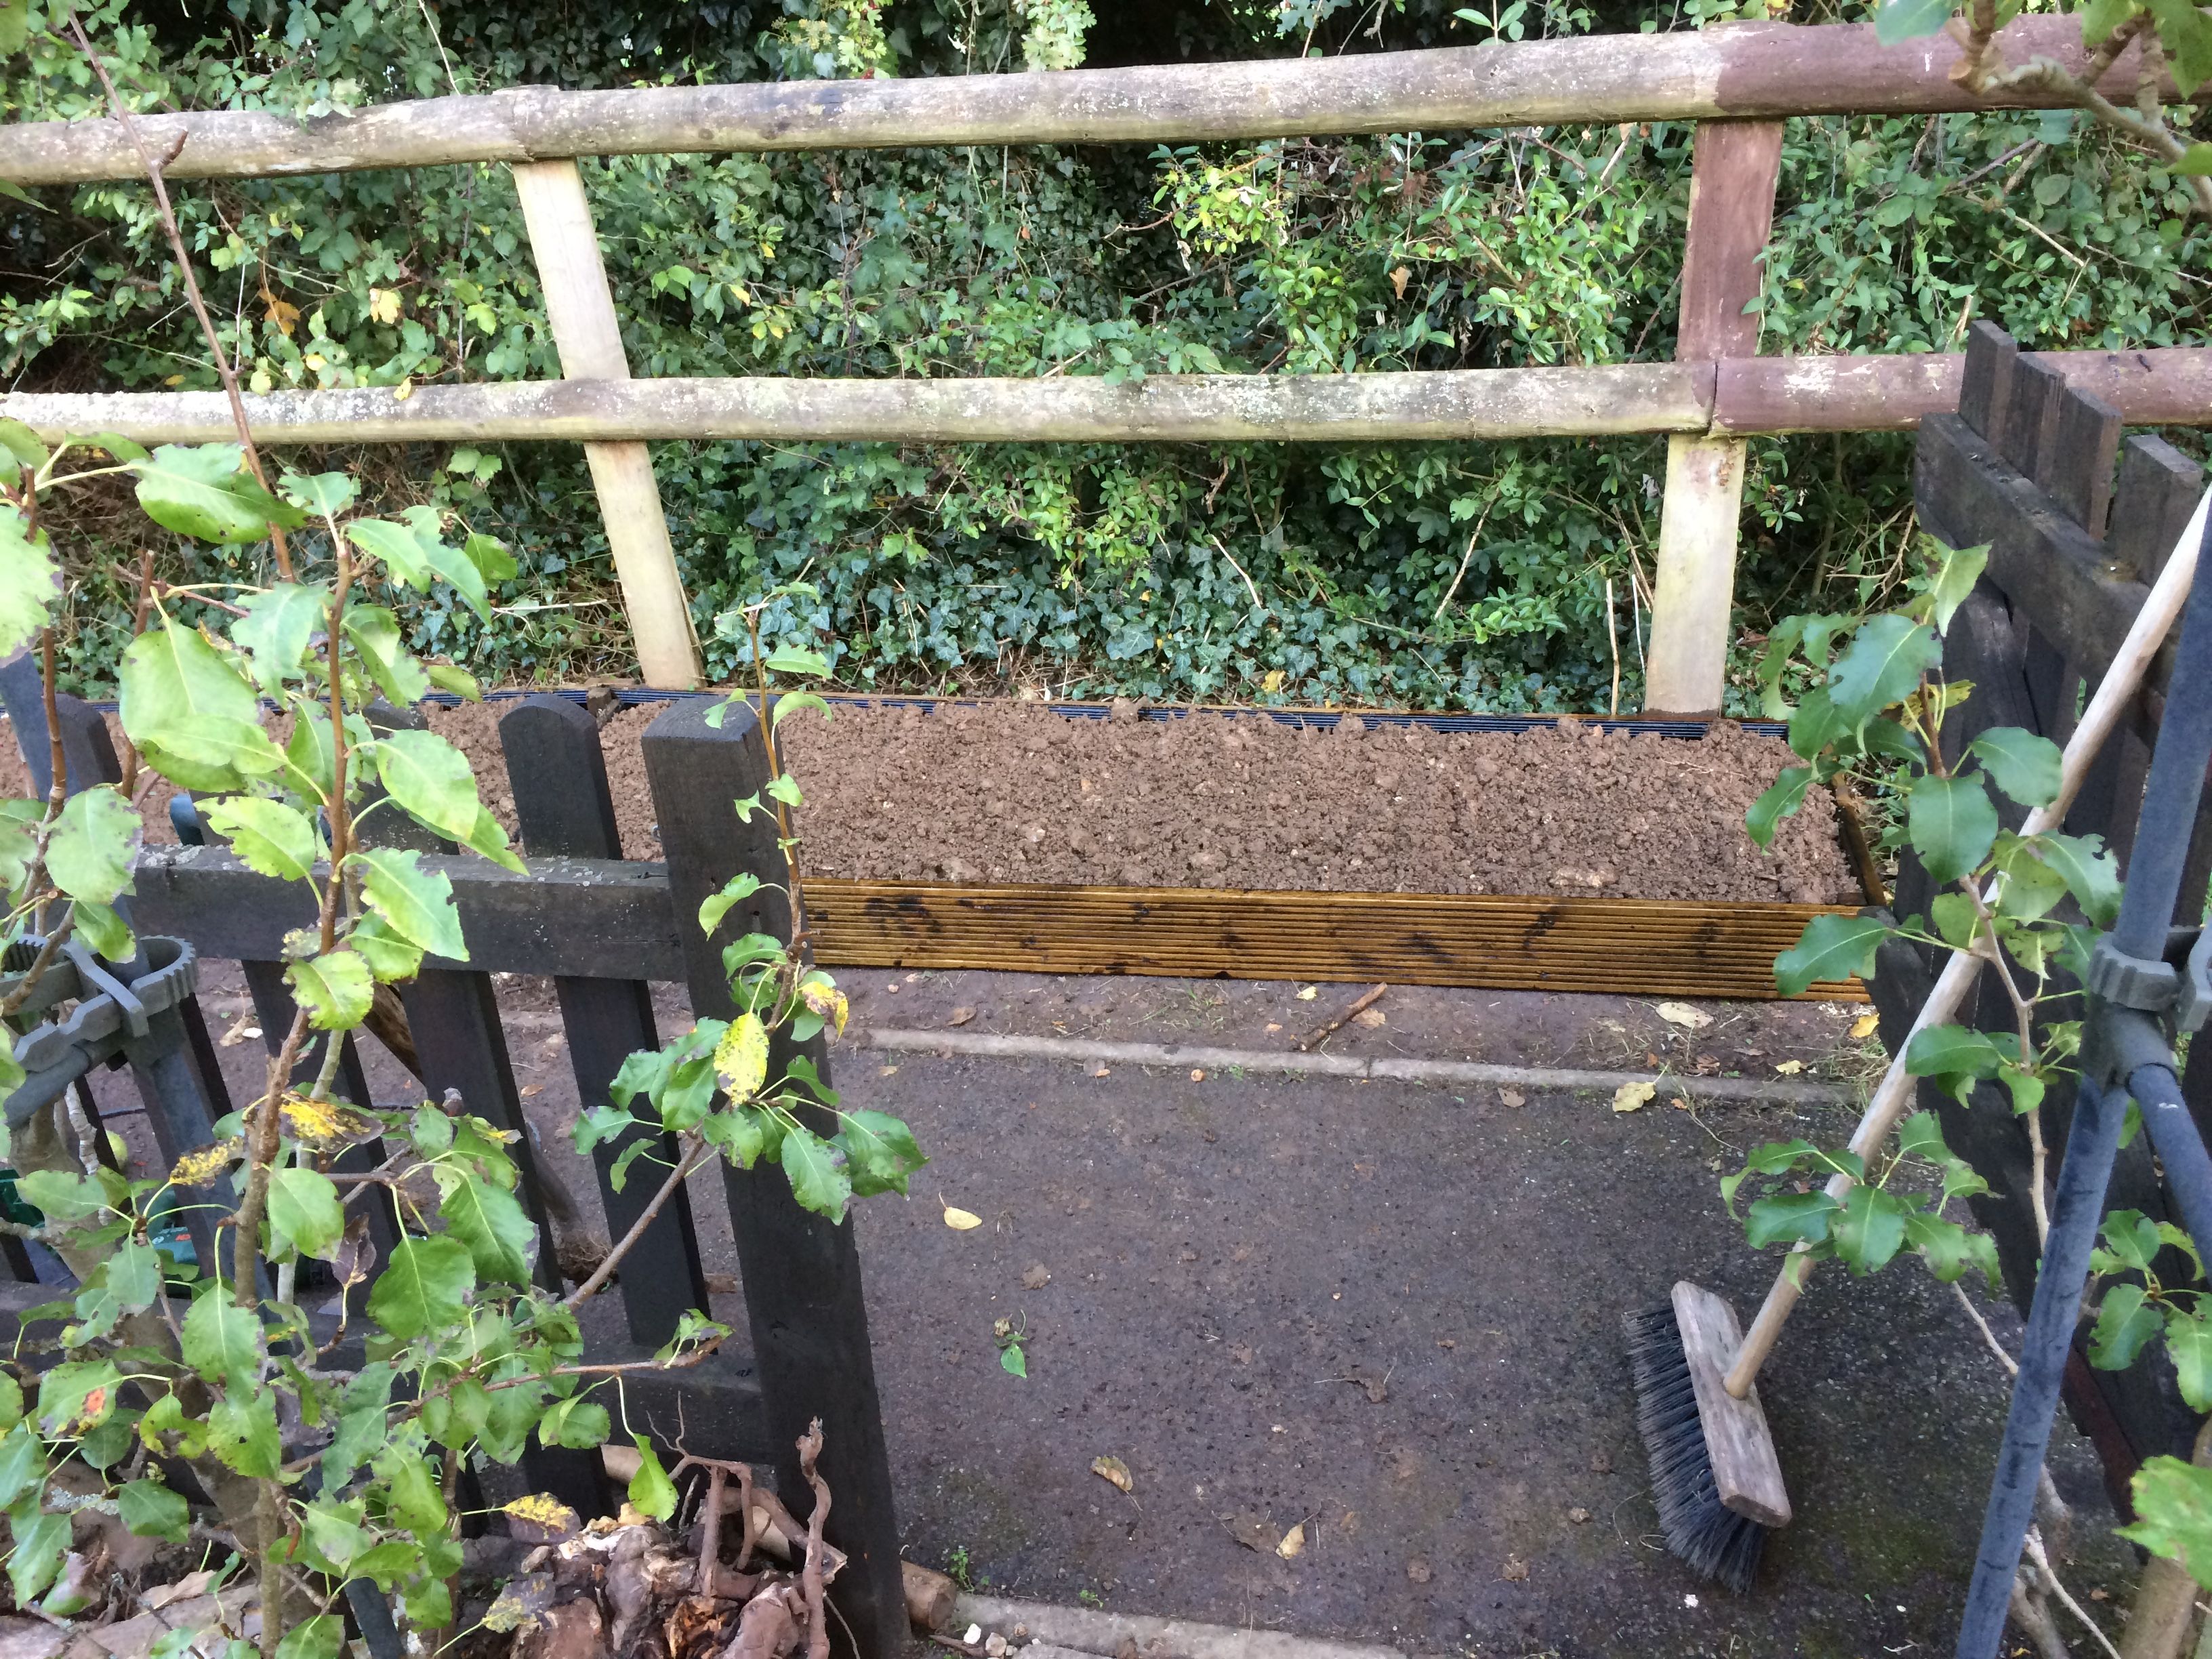
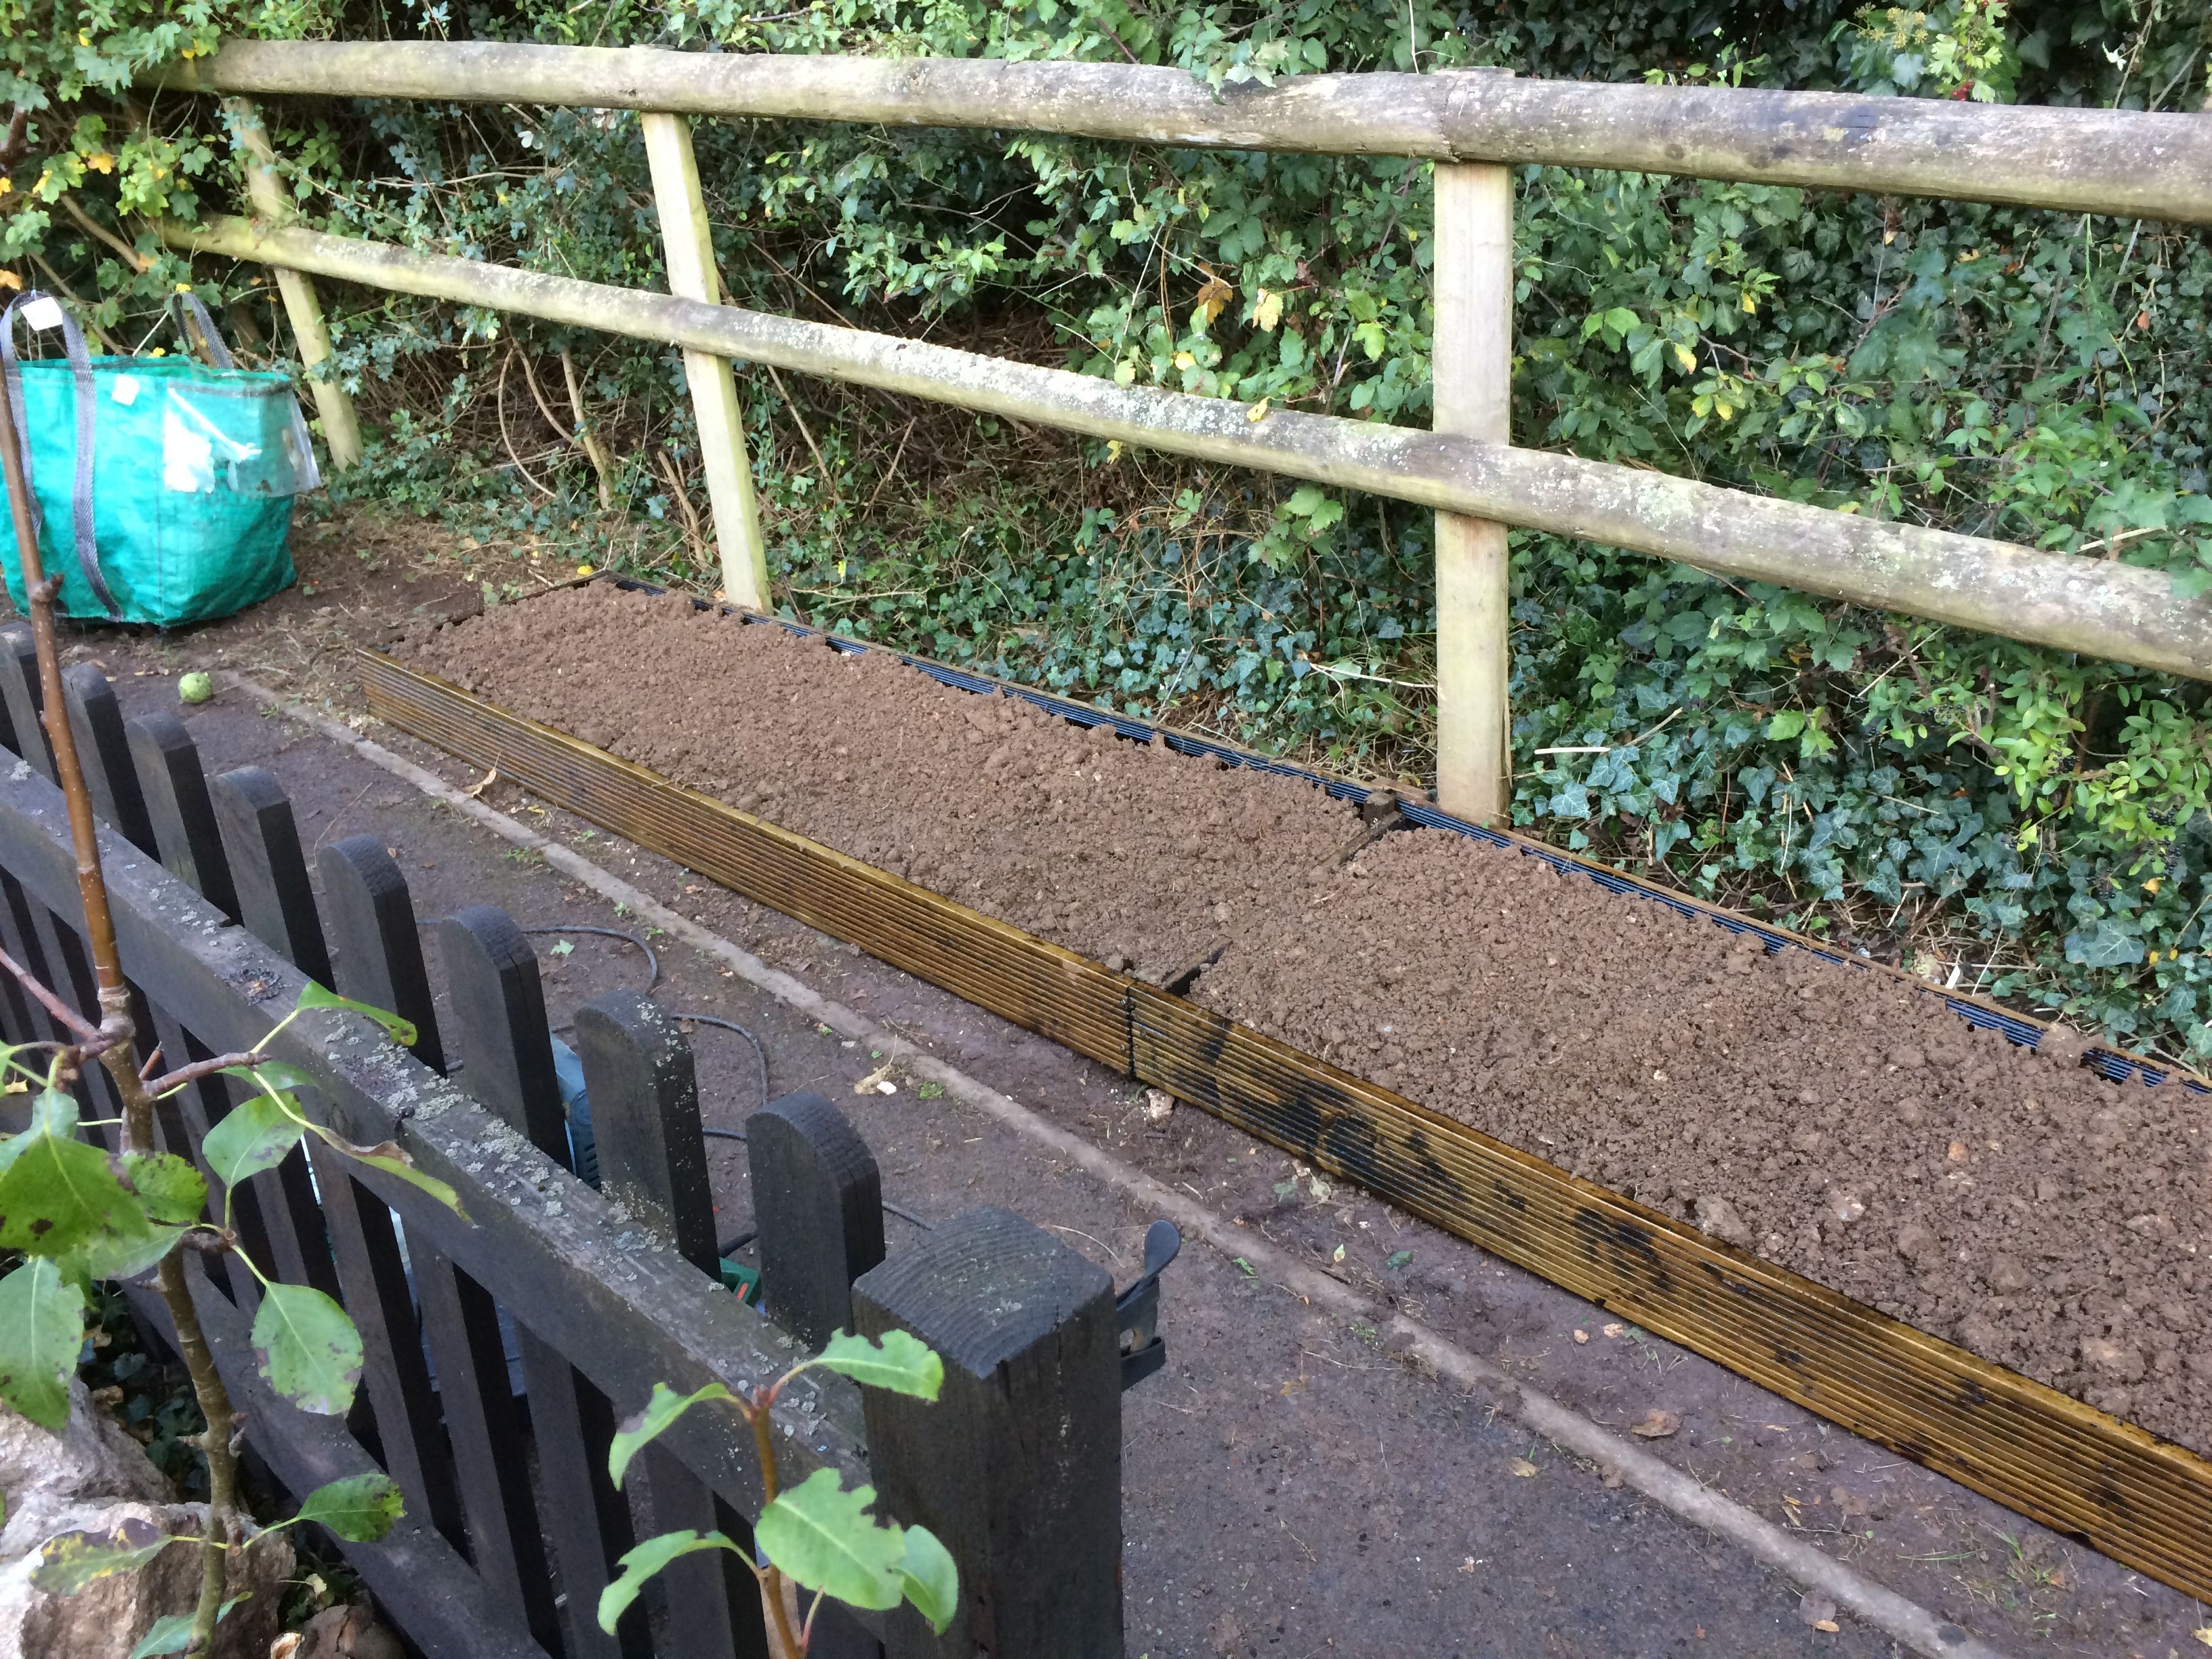
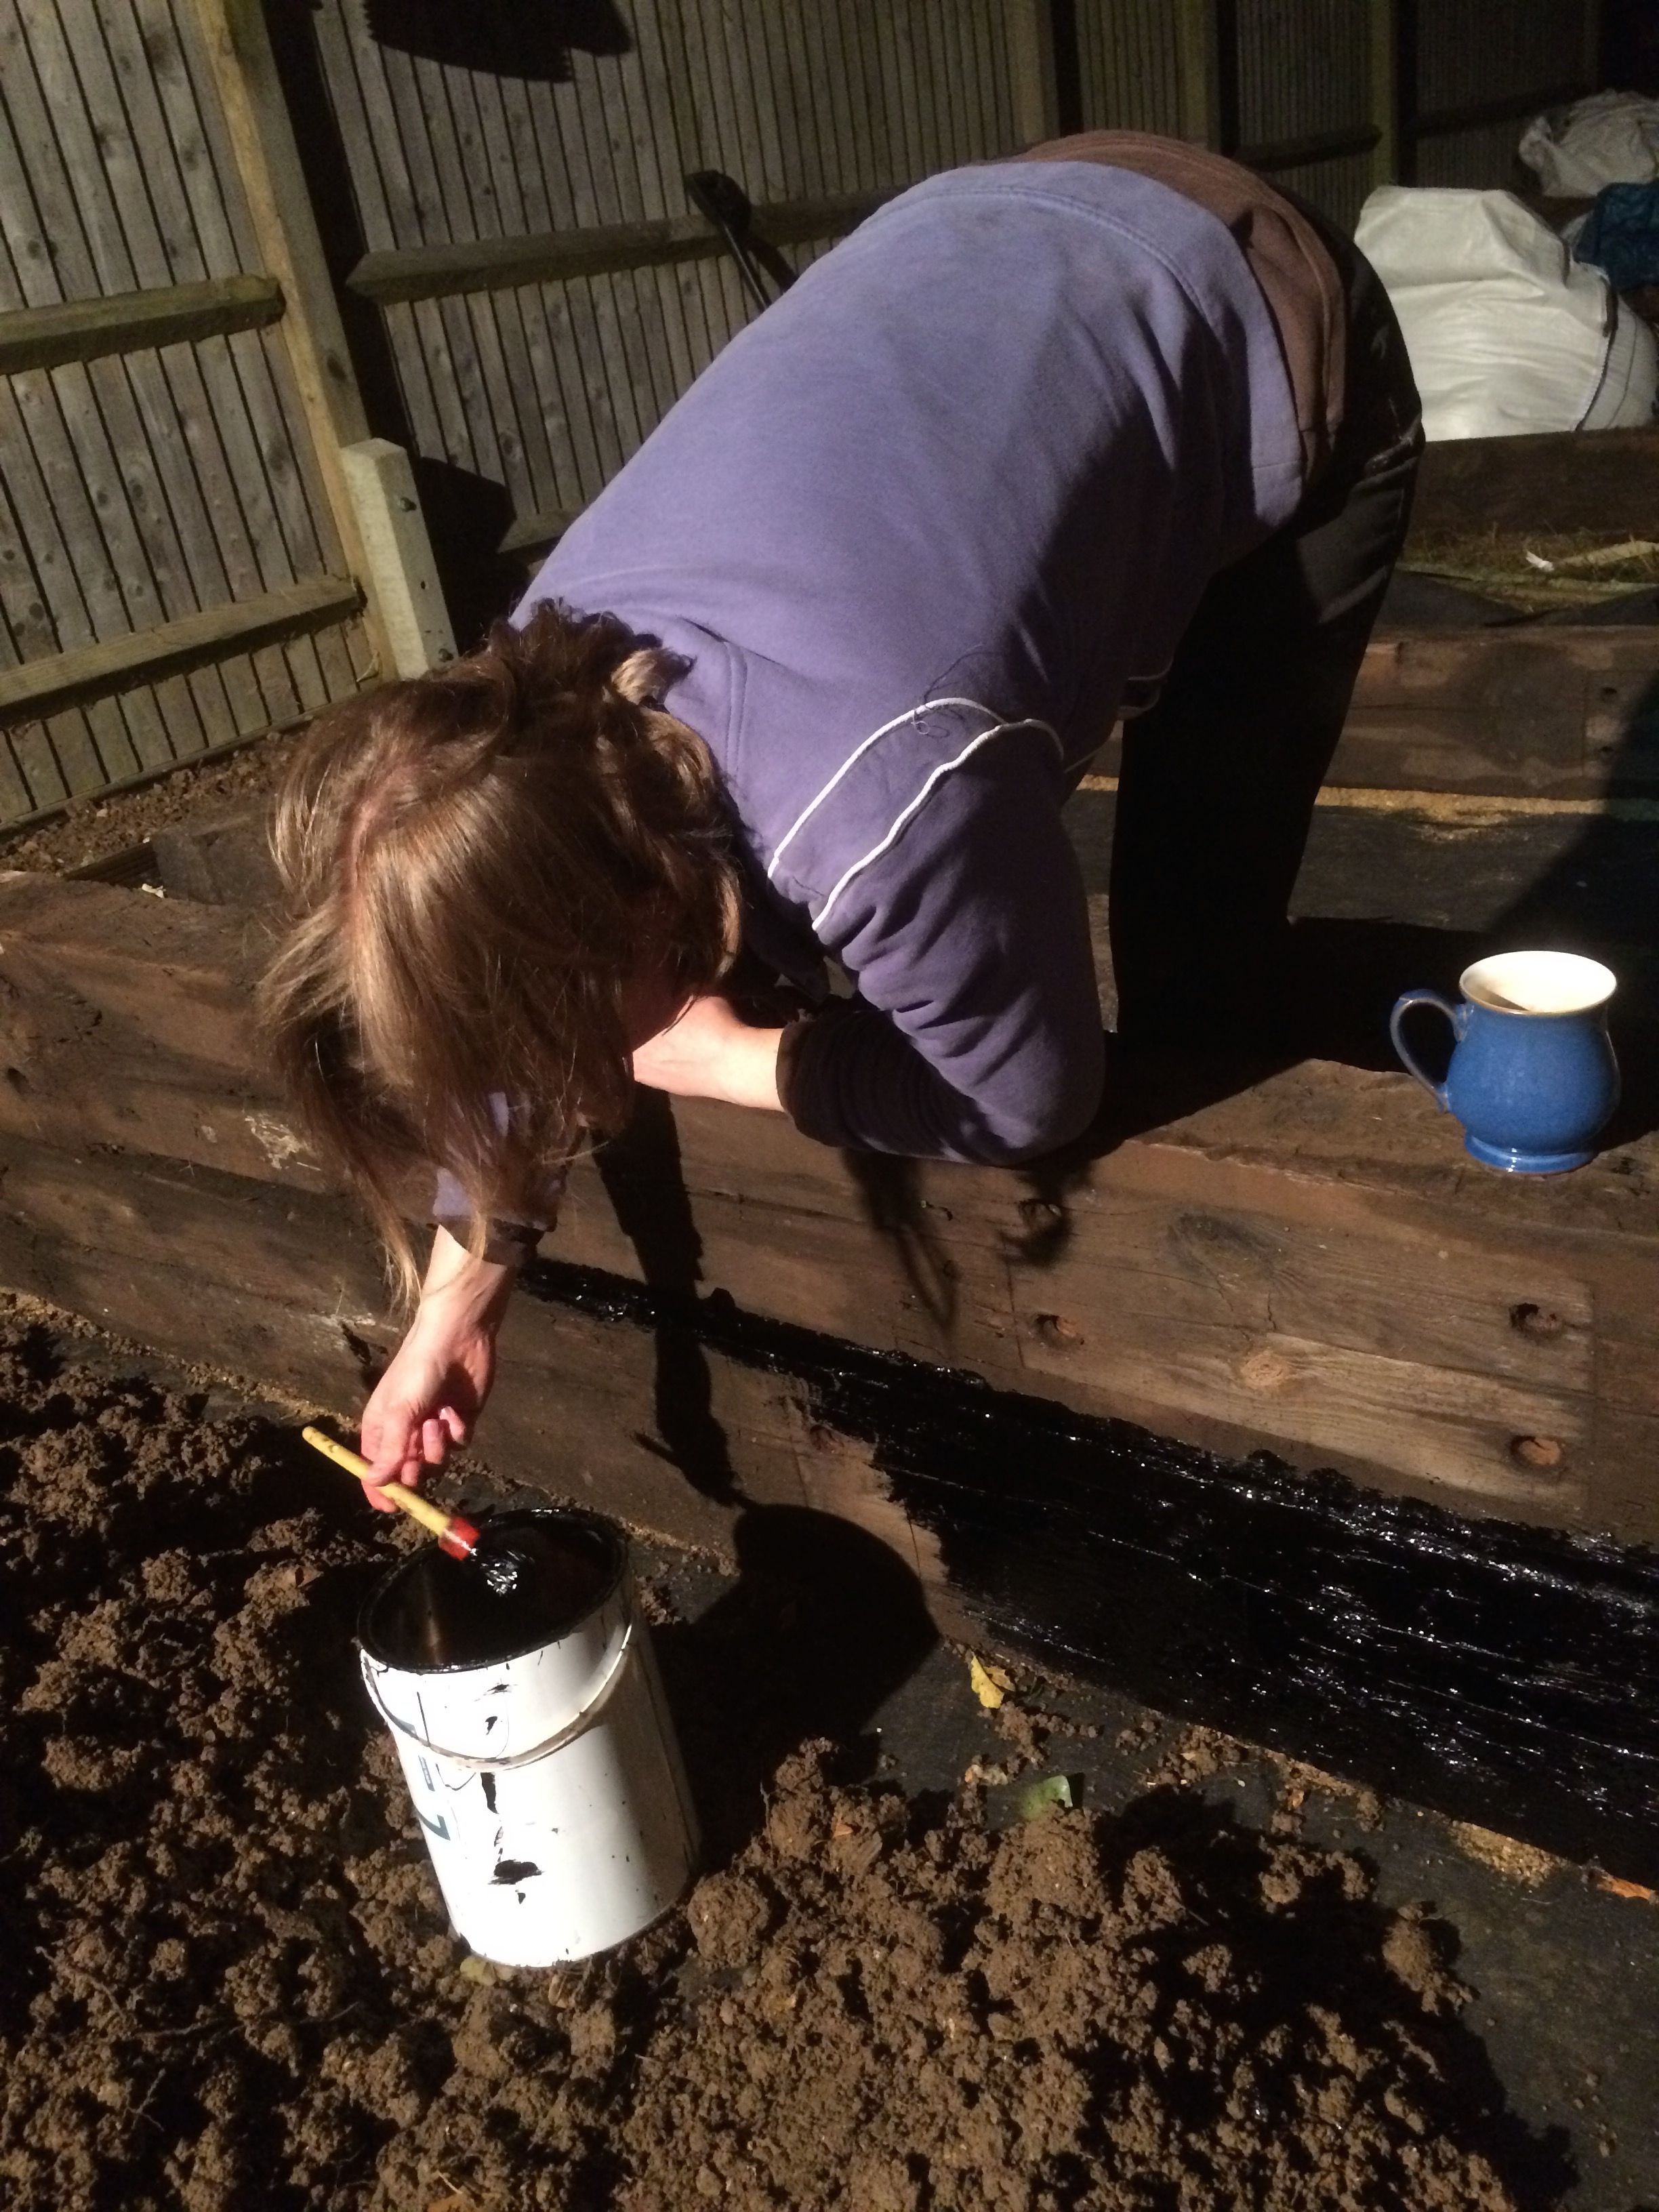
Last week we'd cut the boards for the mushroom bed so the materials. Andie and already raked and levelled the area, in a way there's not much more to say about this part of the project, it all went so smoothly :-). We screwed and pegged the bed together. It's 14ft x 20in being made up of four 7ft planks for the long sides and three 20in planks for the width. That's two ends plates and a spacer for the middle. They were all treated identically, painted with bitumen paint on the bottom and inside face, and with Creocote on the top and outside face. The only exception was the spacer that was painted with bitumen paint on both faces.
Once it was completed we filled it with the earth we'd dug out for the path. The earth is not very good - it's mostly clay, but we're going to place a good layer of horse manure on the top and let the worms work their magic over the winter by drawing it down into the bed.

First Raised Bed (and hiding the spoil)
The little bit of earth that was left from the path we put in the bottom of the first bed. It's going to be used for the kitchen plants so a little bit of clay in the bottom wouldn't make any difference. But first we paineted the inside of the sleepers with bitumen paint. It's probably not necessary, but it'll just add an additional layer of protection. The amount of effort we're putting into this we really don't want have to do this again :-).
End of the Week
So that was it for this week.