Compost Bins Lids - Part 2

Managed to get more work done on the compost bins this weekend. It's getting important to get as much done as possible now. Come October we effectively lose half the weekend as we support a local horse club and their activities run on Sundays.
Battening up the lids
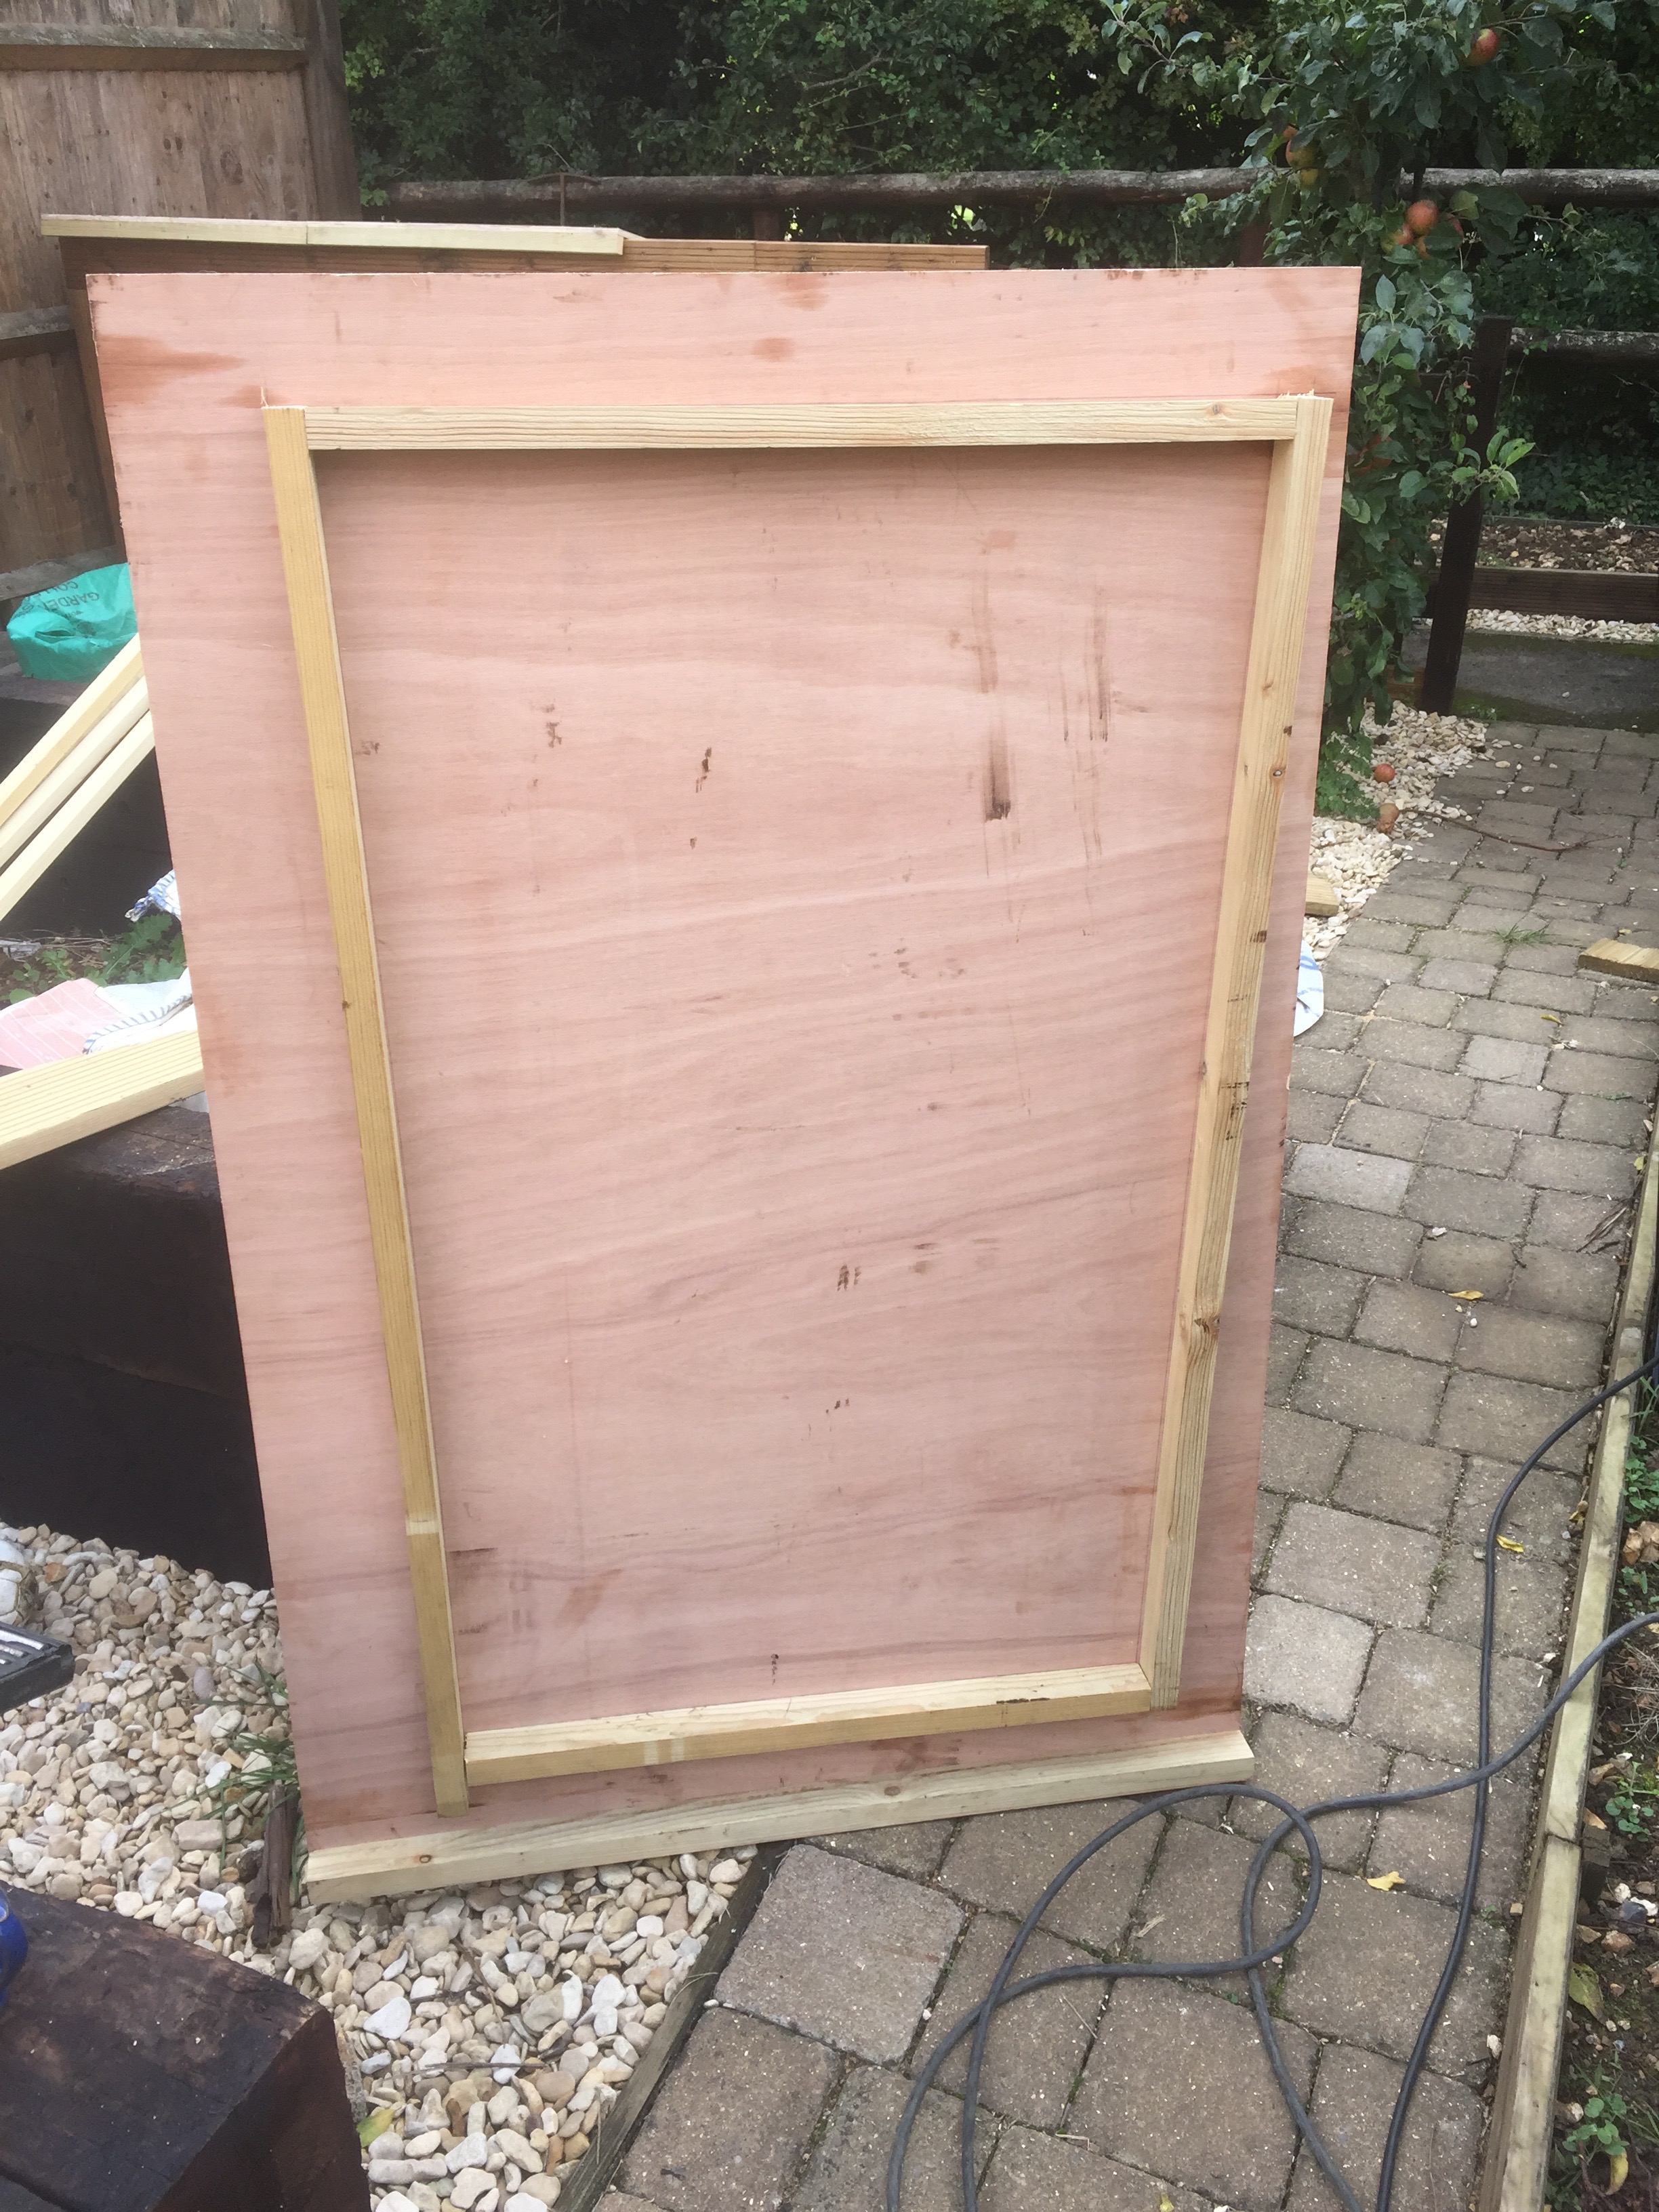
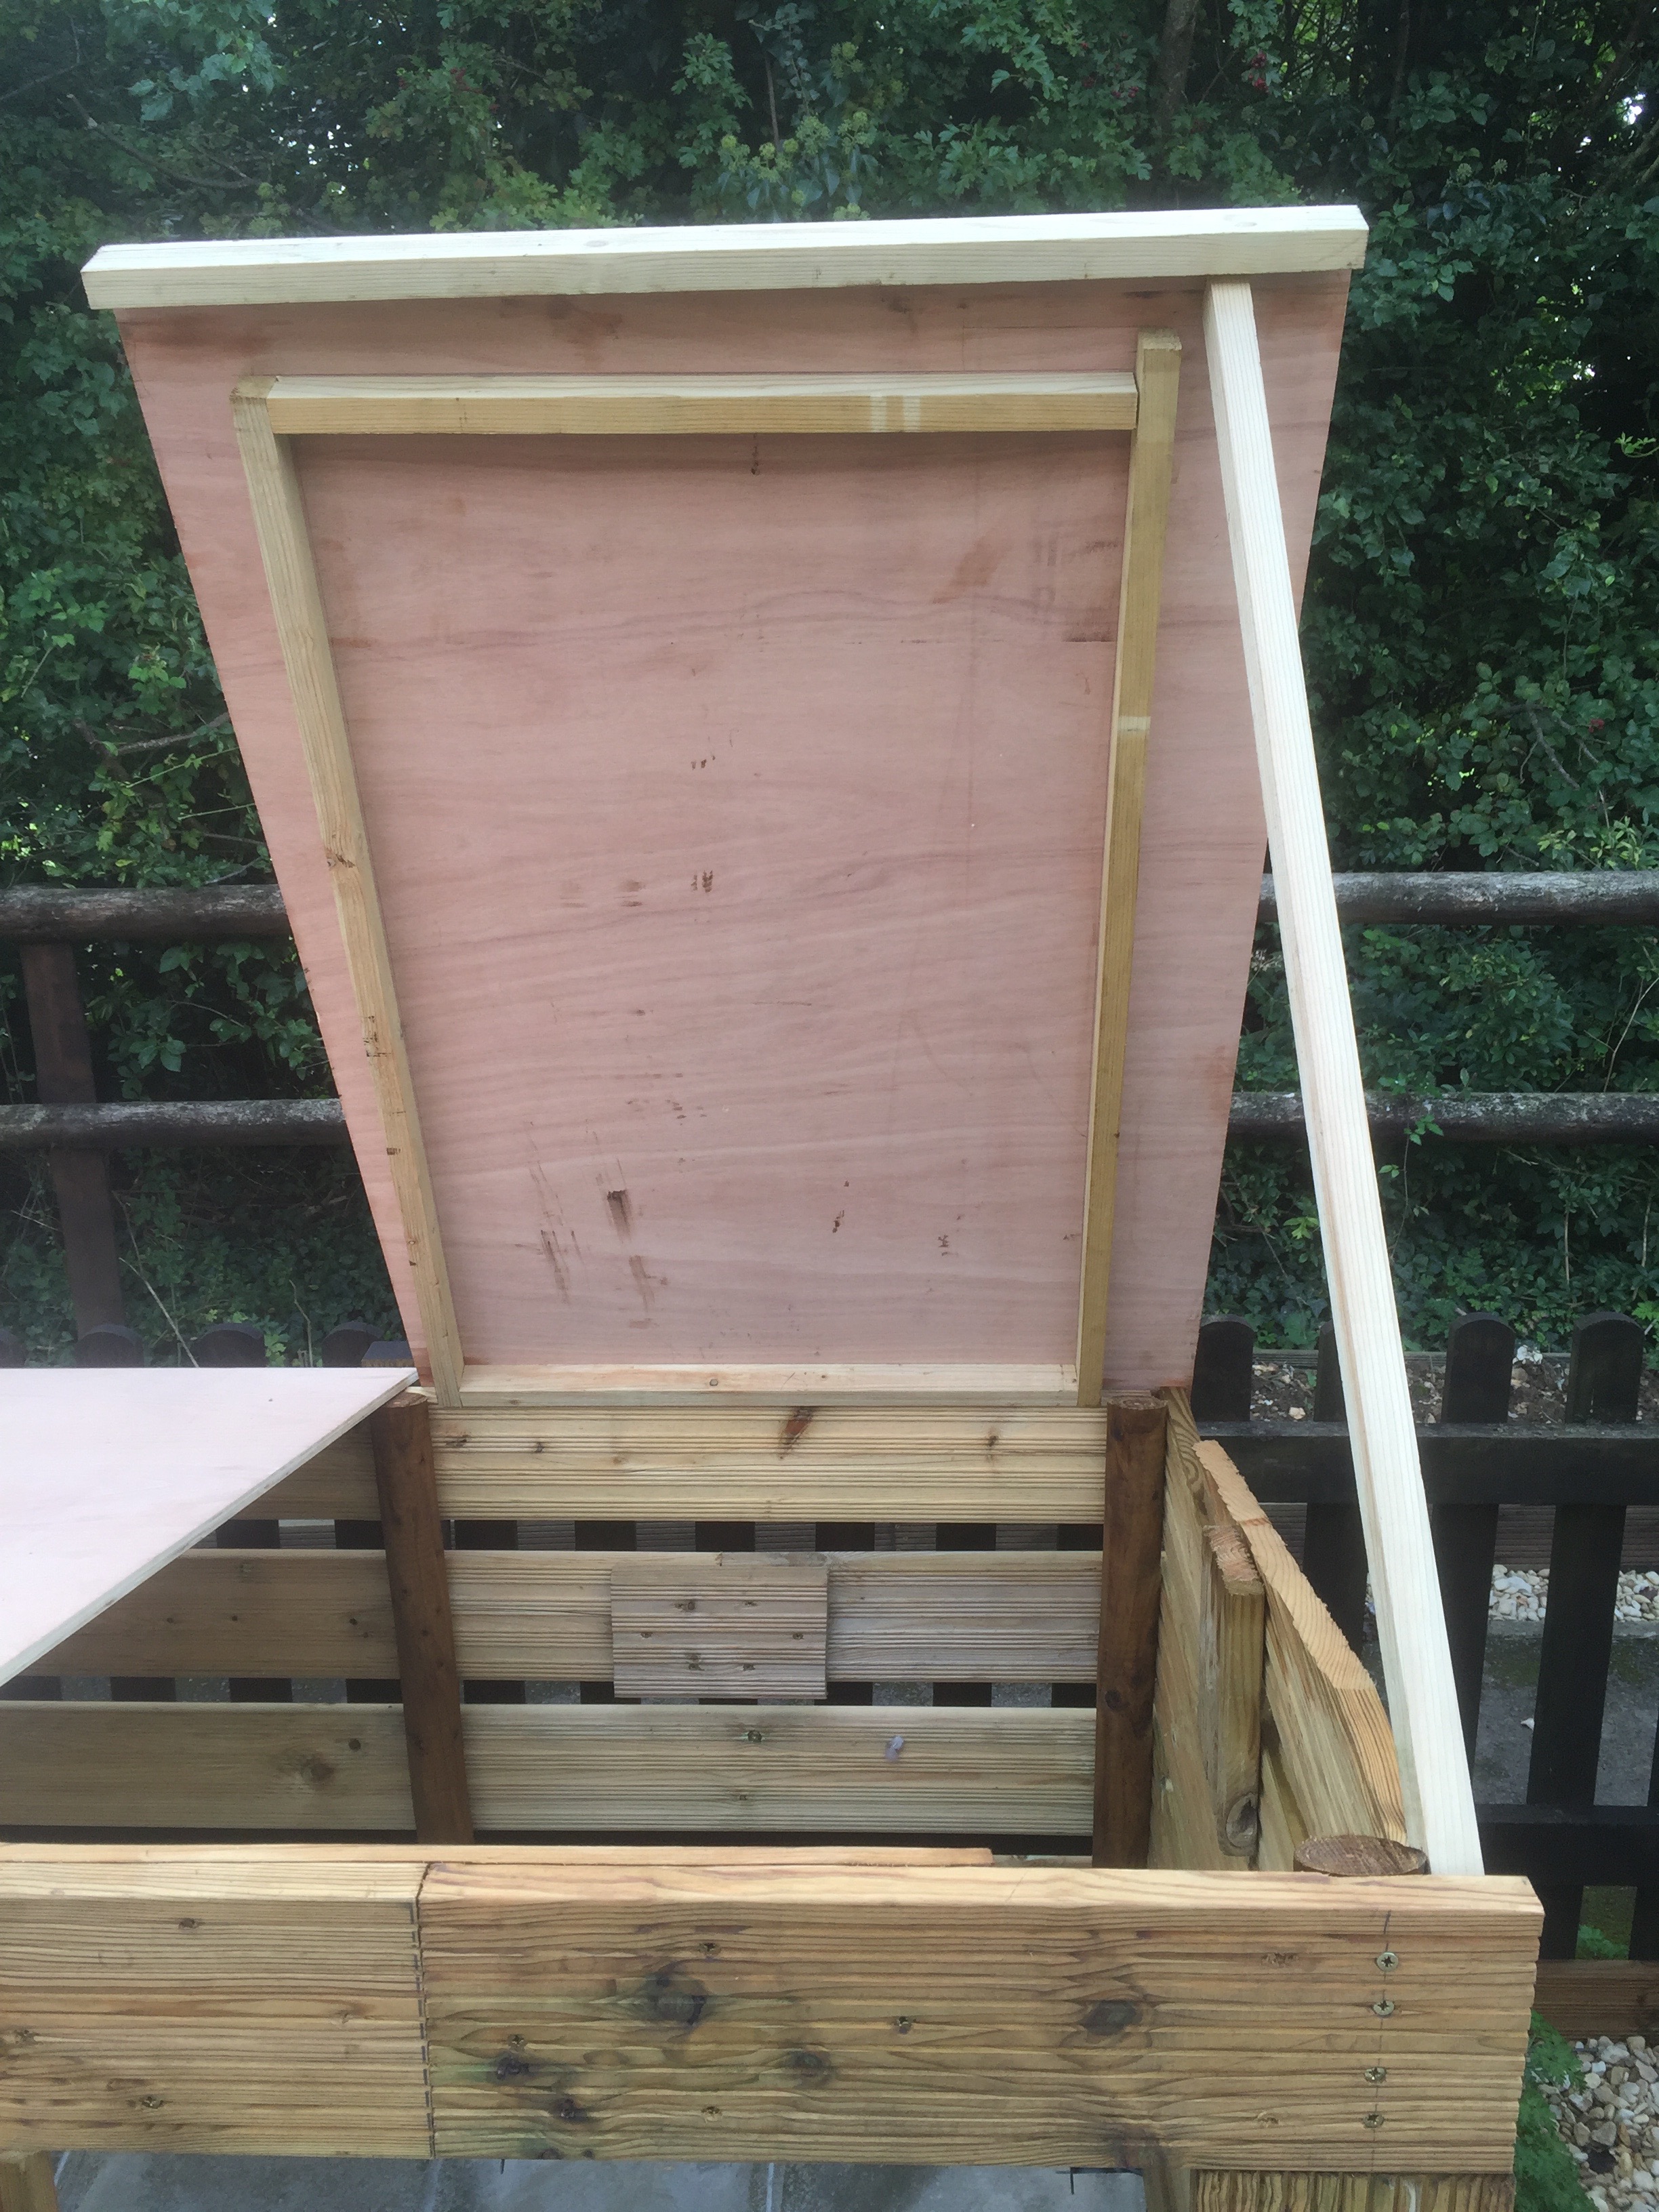
Last weekend saw us abandoning play because of rain. So we pushed on this weekend, putting the battening on the bottom side of the lids to make the hinges and give a bit of extra strength. The inner battening fit inside the upright posts and help to hold the lid in place. Because the bins have been hand made and, as we said before, aren't very square, each had to be measured and individually fitted, so the shapes on the bottom are unique to each lid :-)
Success hinging on a hinge :-)
Once we'd got the battening on, we could test the "hinges" to see if our idea was going to work as we'd thought. The good news is, they did :-D. We can open the lids from front or back, and can take them off entirely if we need to.
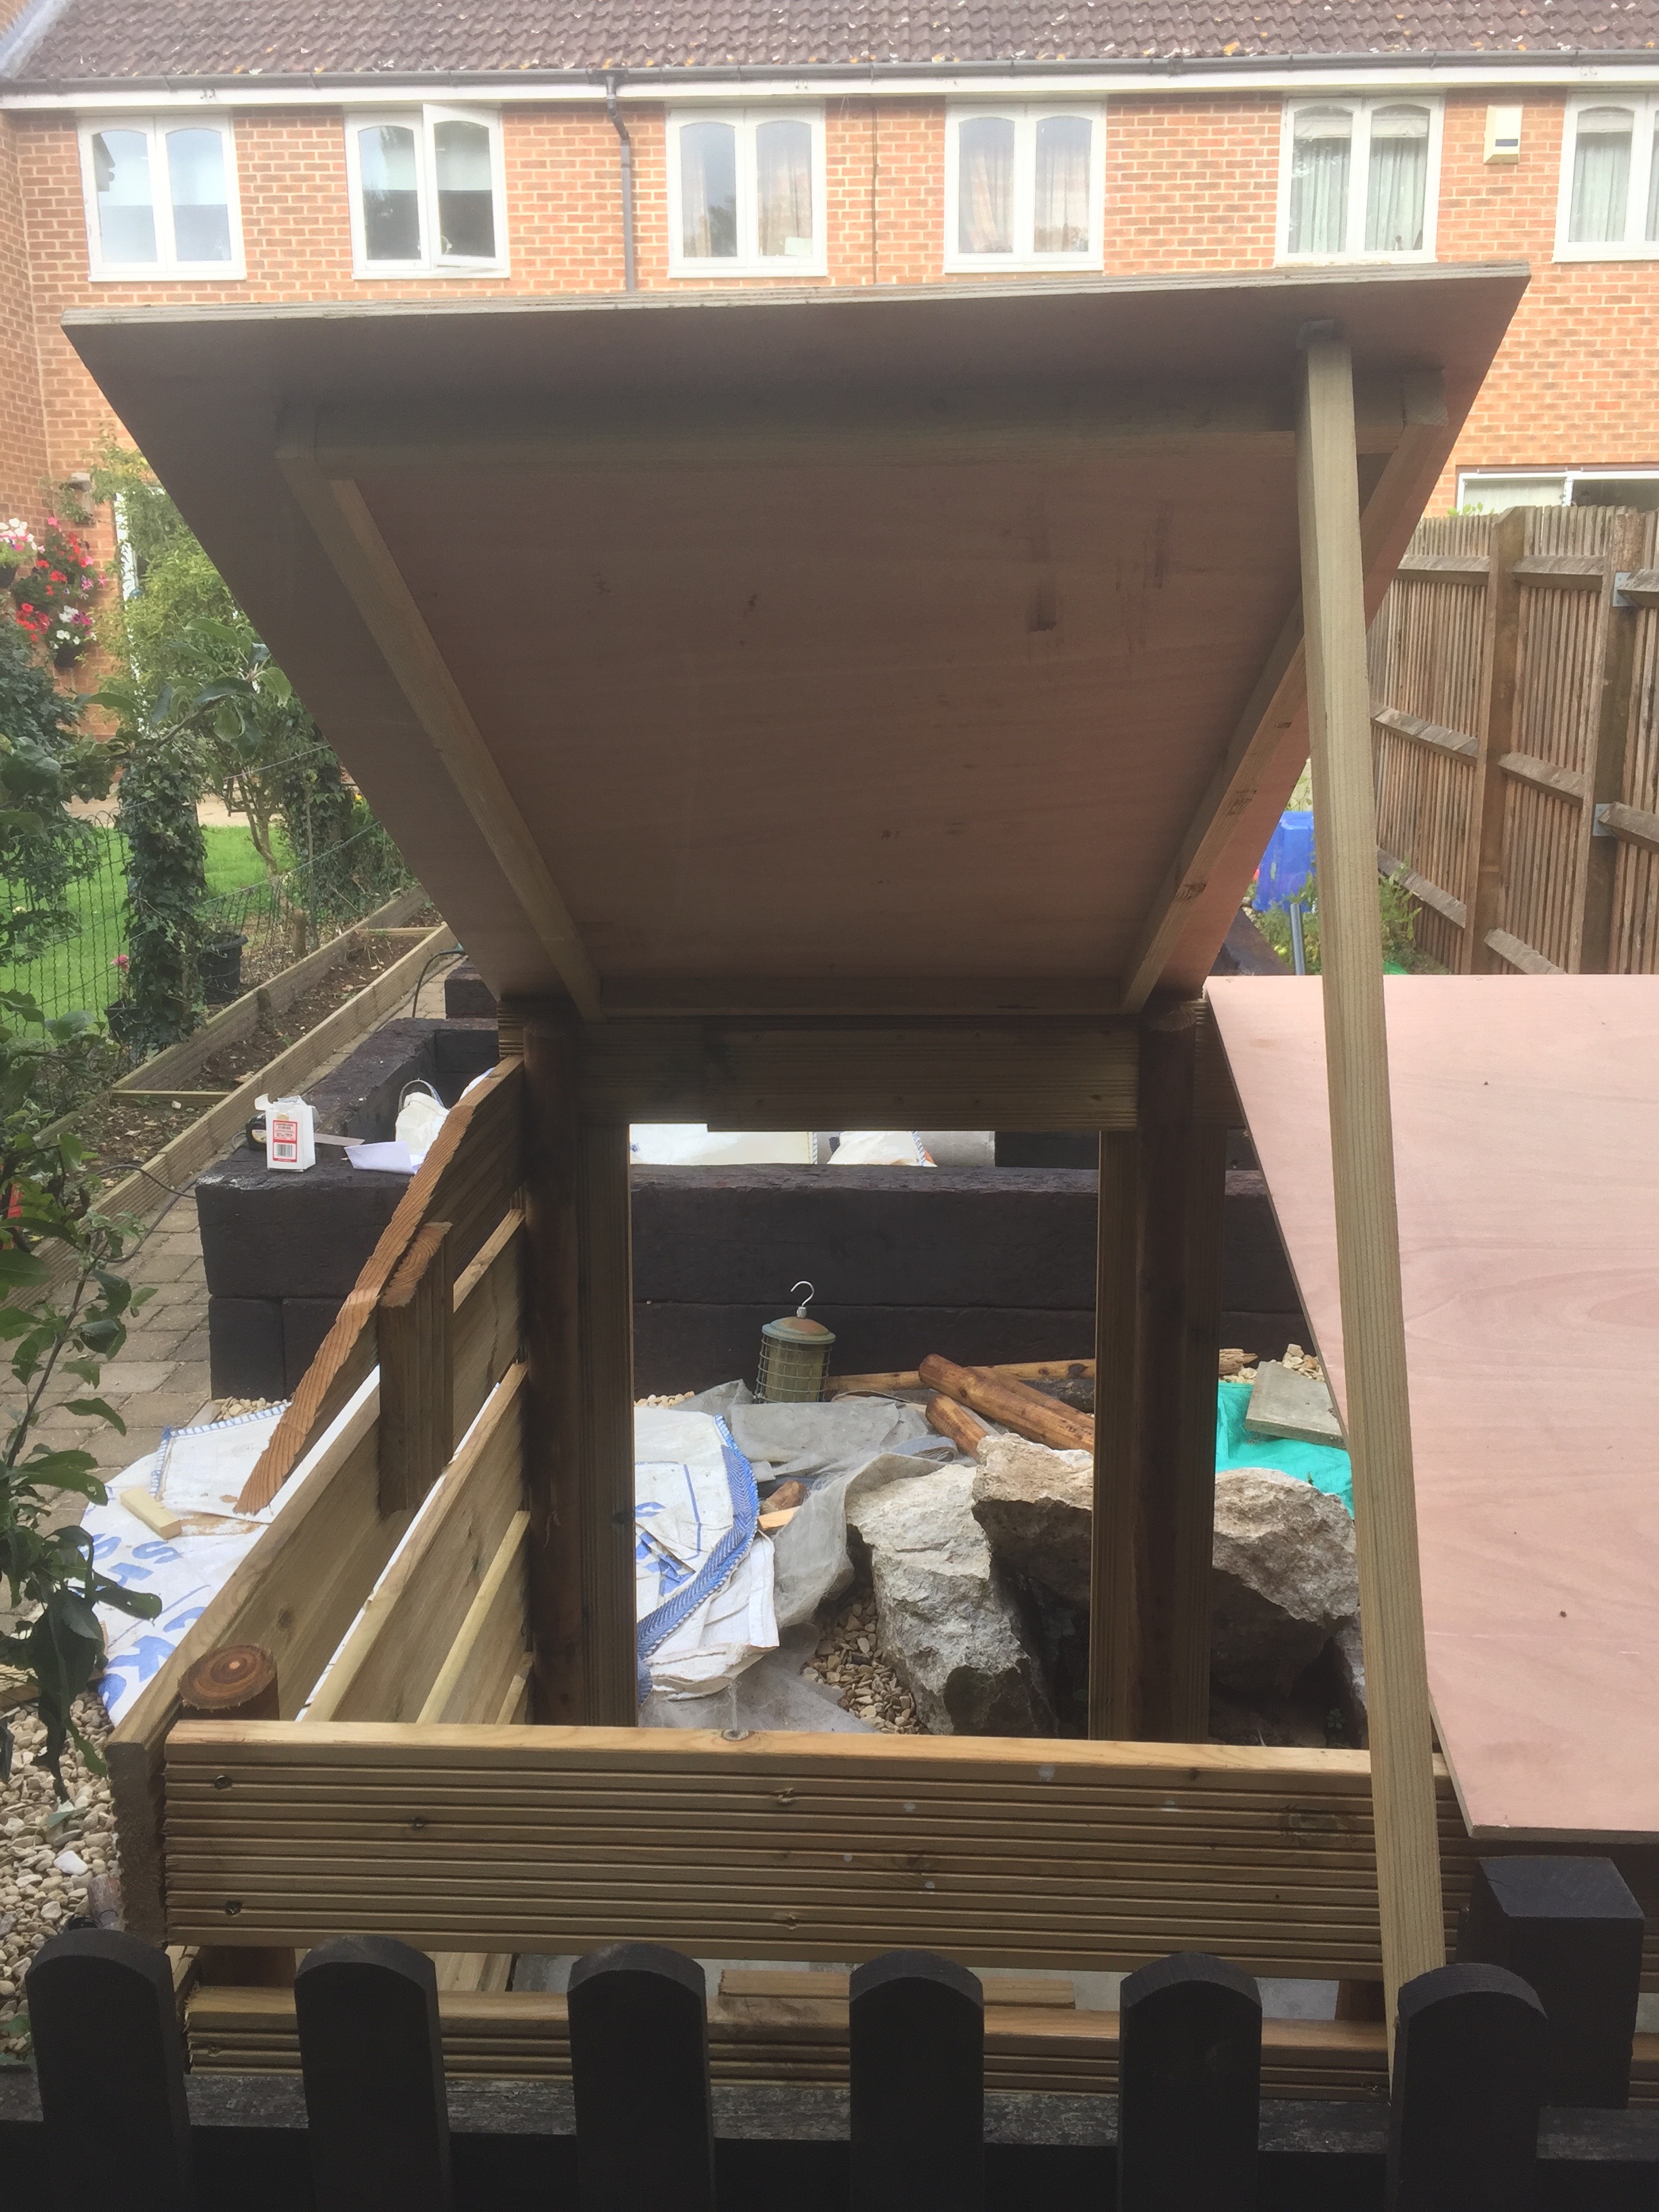
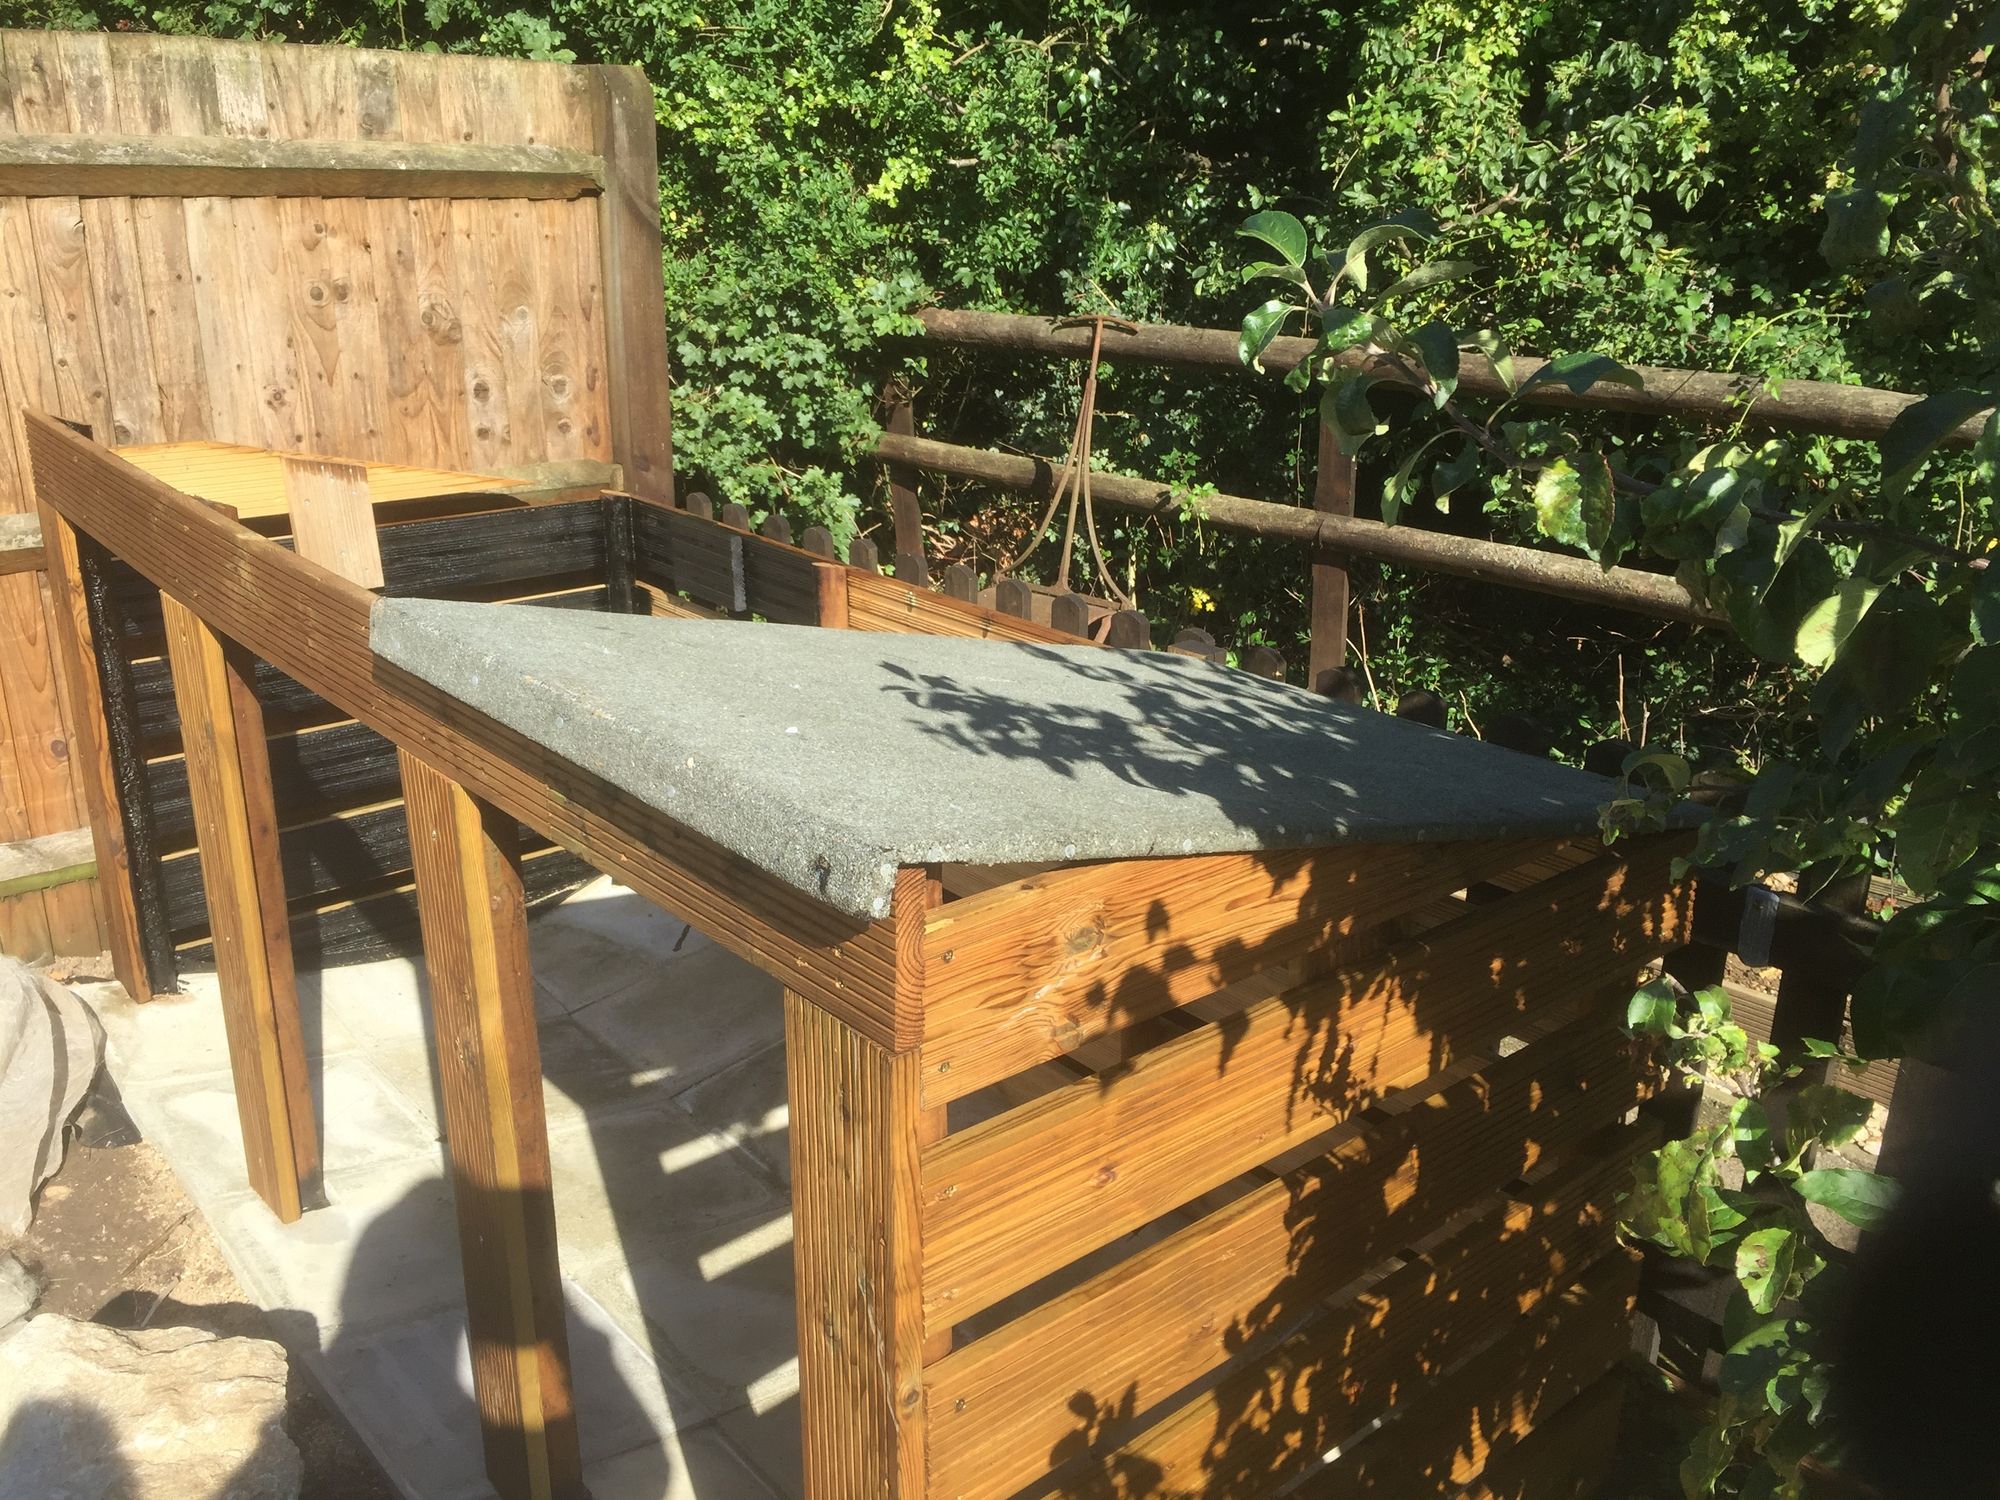
Compost bin open from the back so we can load them with horse manure from the path.
Compost bin open from the front so we can load bulky garden waste into it.
Number one lid finished
Once all the lids were finished we started to paint the first with bitumen paint and covered the top with roofing felt. The bitumen paint should make the wood completely waterproof and will also help stick the roofing felt to the wood.
However after all the previous work there was only time to finish the roof on the first bin ... but it does look good :-)

Rain is bad, but so is dew
That brought Saturday to a close. As it wasn't due to rain we decided to leave the other lids out. That turned out to be a mistake. Although there wasn't any rain, there was dew, and the wood of the untreated lids absorbed enough of it to cause problems. When we started to paint them in the morning the paint wasn't adhering properly :-(. The only thing to do in a case like this is just to leave the wood to dry out. So we put the paint brushes away left it until late afternoon.
By 5pm the wood was dry again and we commenced painting :-). There wasn't time to put the roofing felt on, so we concentrated on getting the paint on so the wood would be waterproof. That way the lids could be left out until next weekend when we can finally get the roofing felt on.
There's quite a lot of rain due tomorrow so We'll find out tomorrow if it worked then. If the next gardening post in the. Log is full of incoherent babbling you'll know that it didn't :-)
On the good news front, apparently we're due for another 2-3 weeks of warm weather. Good news if your trying to paint things with bitumen paint. Bitumen paint, it turns out, does not like cold weather when your applying it. We picked that particular tip last winter :-)
Next up
Roofing felt, interior partitions and front panels.
“All life is an experiment” - Ralph Waldo Emerson